BullGuard Review - Everything You Need to Know [2022]

- Octav Fedor (Cybersecurity Editor)
- Last edit: May 25, 2023
#1 BullGuard Review in 2022
BullGuard is a traditional antivirus product that has always had a consistent user base. That said, its popularity seems to have declined in recent years. Why? I decided to put it to the test to see how it holds up presently.
For this BullGuard review, I analyzed the top-tier suite — BullGuard Premium Protection. This analysis will help you make an informed decision when choosing the antivirus solution that’s right for you.
Major Features
BullGuard includes numerous features designed to keep your PC and online accounts safe and secure. The first feature I analyzed is one of the most important…
Ransomware Protection
To thoroughly test BullGuard’s antivirus engine, I attempted to run a ransomware simulation using a KnowBe4 Ransomware Simulator. However, BullGuard didn’t allow the main launcher to run. This should be a good sign because it means that BullGuard’s sensors stopped a major threat, even if it’s a ransomware simulator.
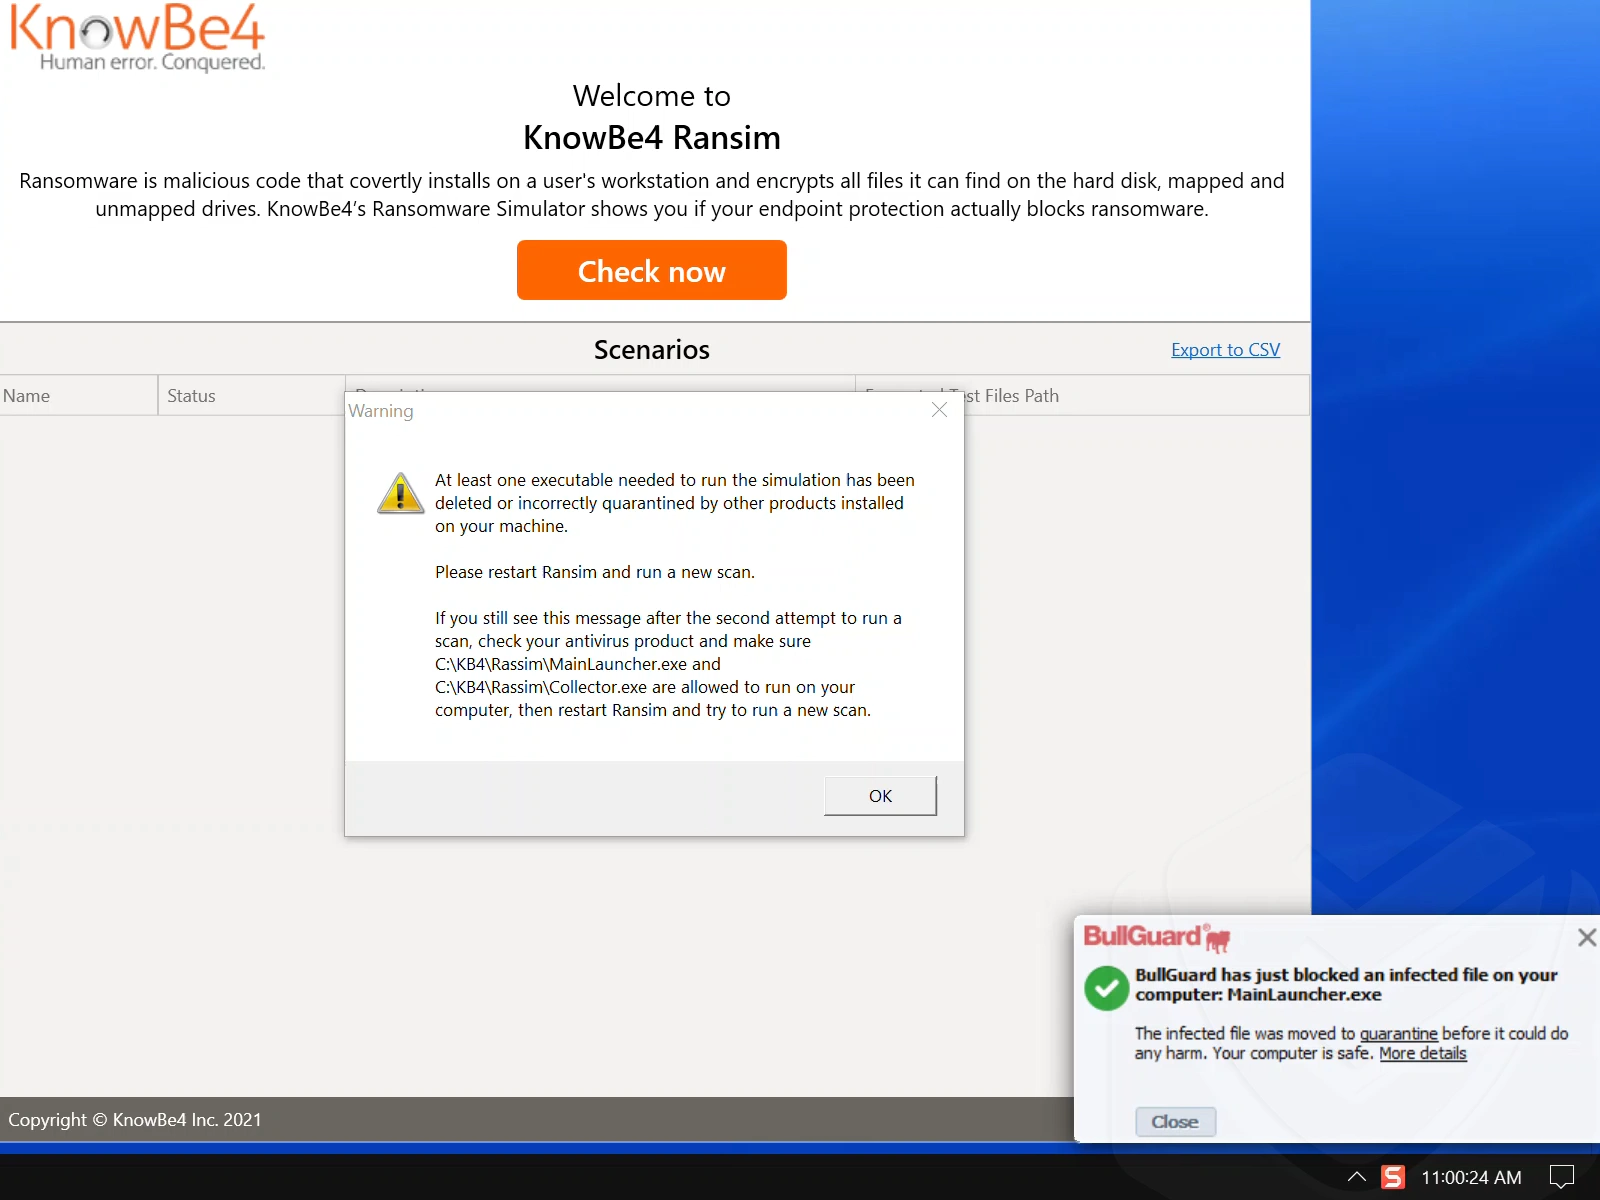
It blocked the executable that was necessary for the test. Then, after I restored it from quarantine, BullGuard blocked it again after I tried to run the test a second time.
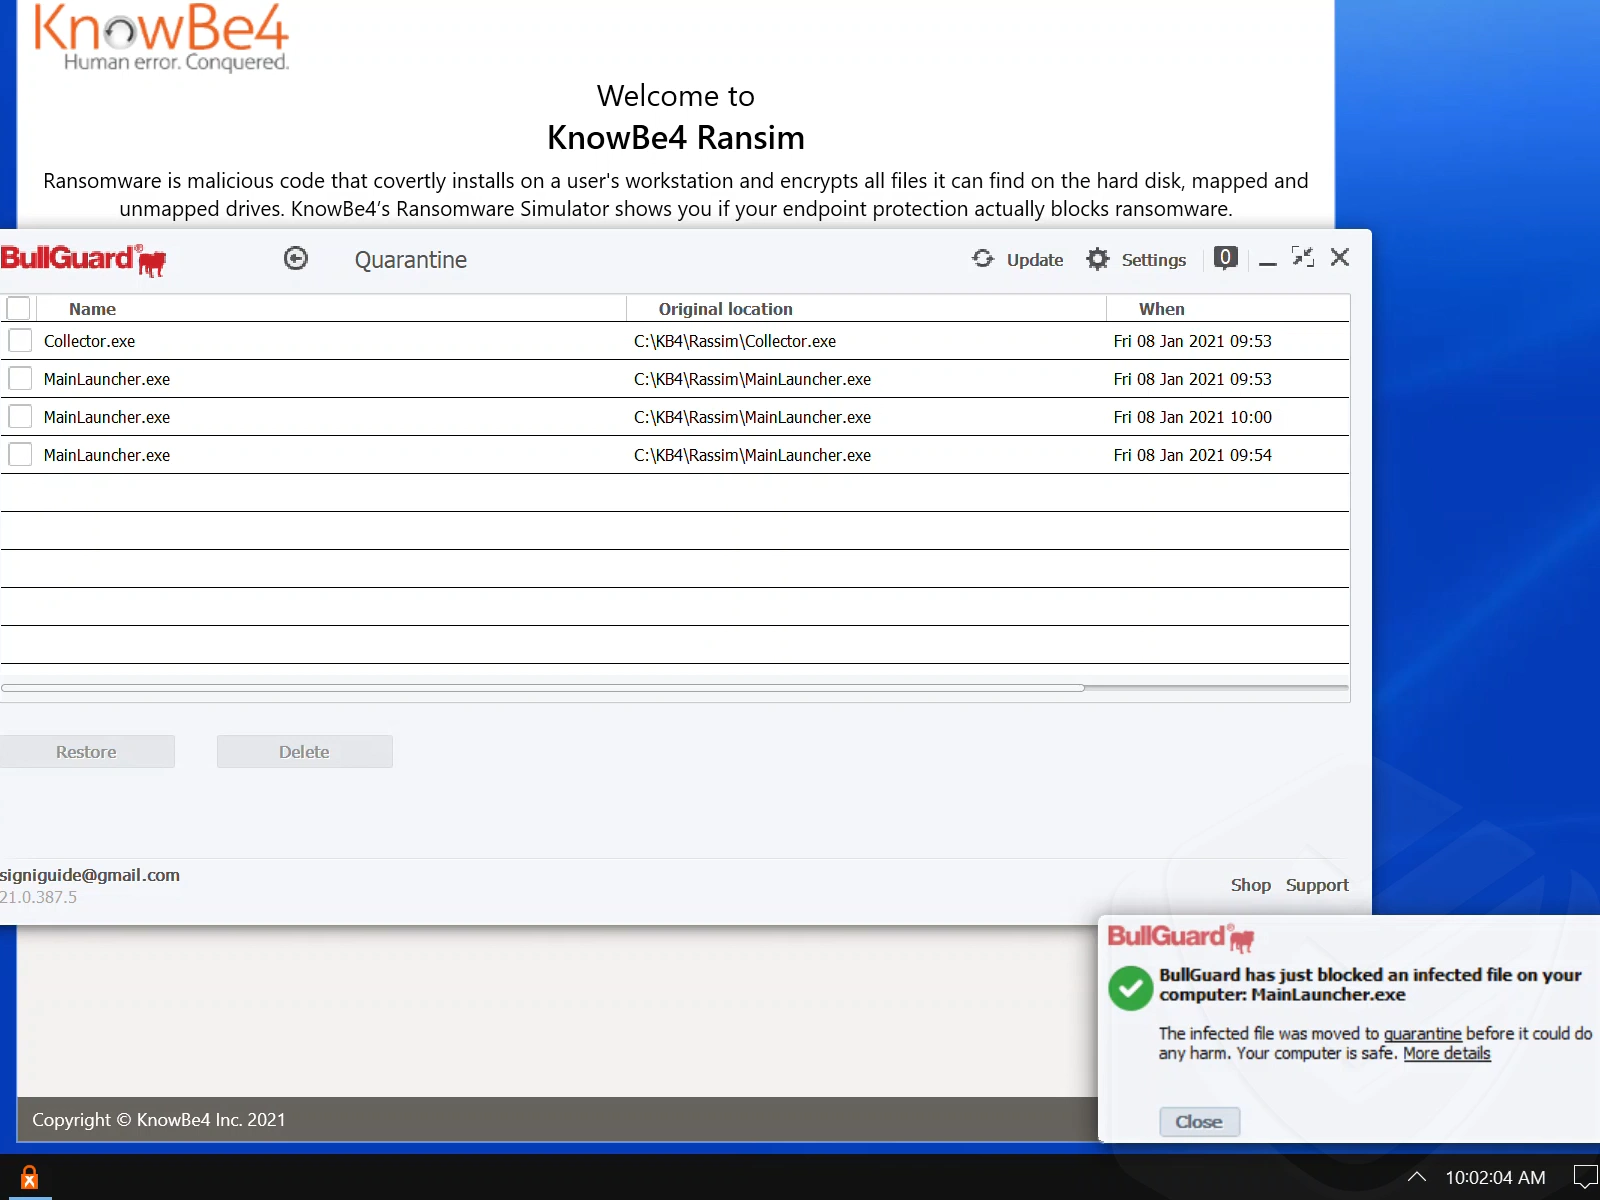
Unfortunately, there’s no option to allow the executable to run. The same goes for Bitdefender and McAfee. BullGuard should include this option, especially when it comes to detecting false positives. It only has an option to report false positives to its developers.
Scan
Manual and automatic system scans are key practices to protect devices from cyber threats. BullGuard’s scanning options are quite customizable and will satisfy even the most security-focused users.
As with all BullGuard modules, you can conveniently select related features using the drop-down menu. Within the antivirus module, you’ll see multiple options:
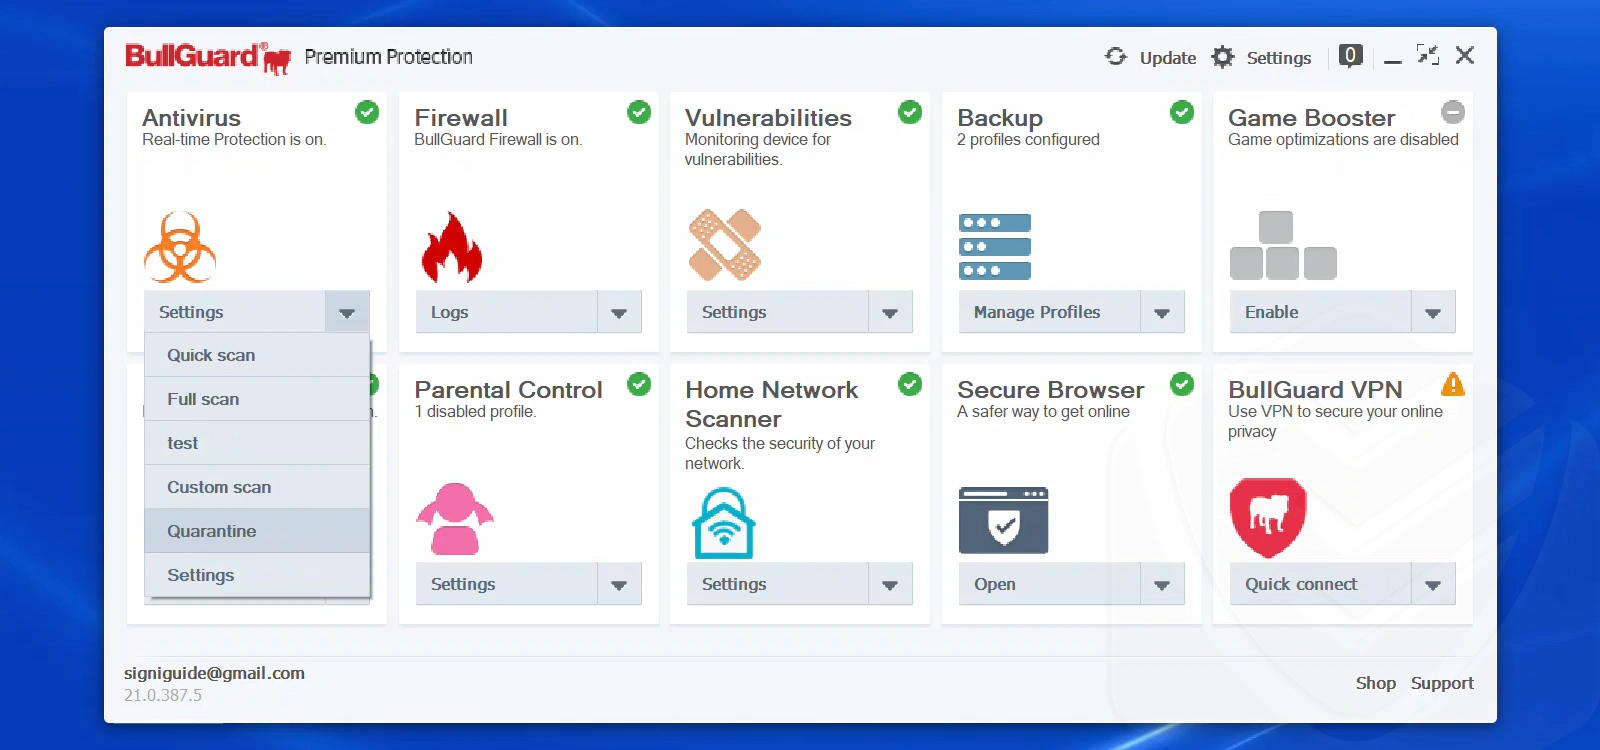
While testing the scan thoroughly, some interesting things surfaced:
Full scan
BullGuard’s full scan targets all files and processes located on the hard drive. As usual, the more files your system has, the slower the scanning process will be. Scanning time also depends on your PC’s performance and how you configure the scan, including the number of file threads that need to be scanned.
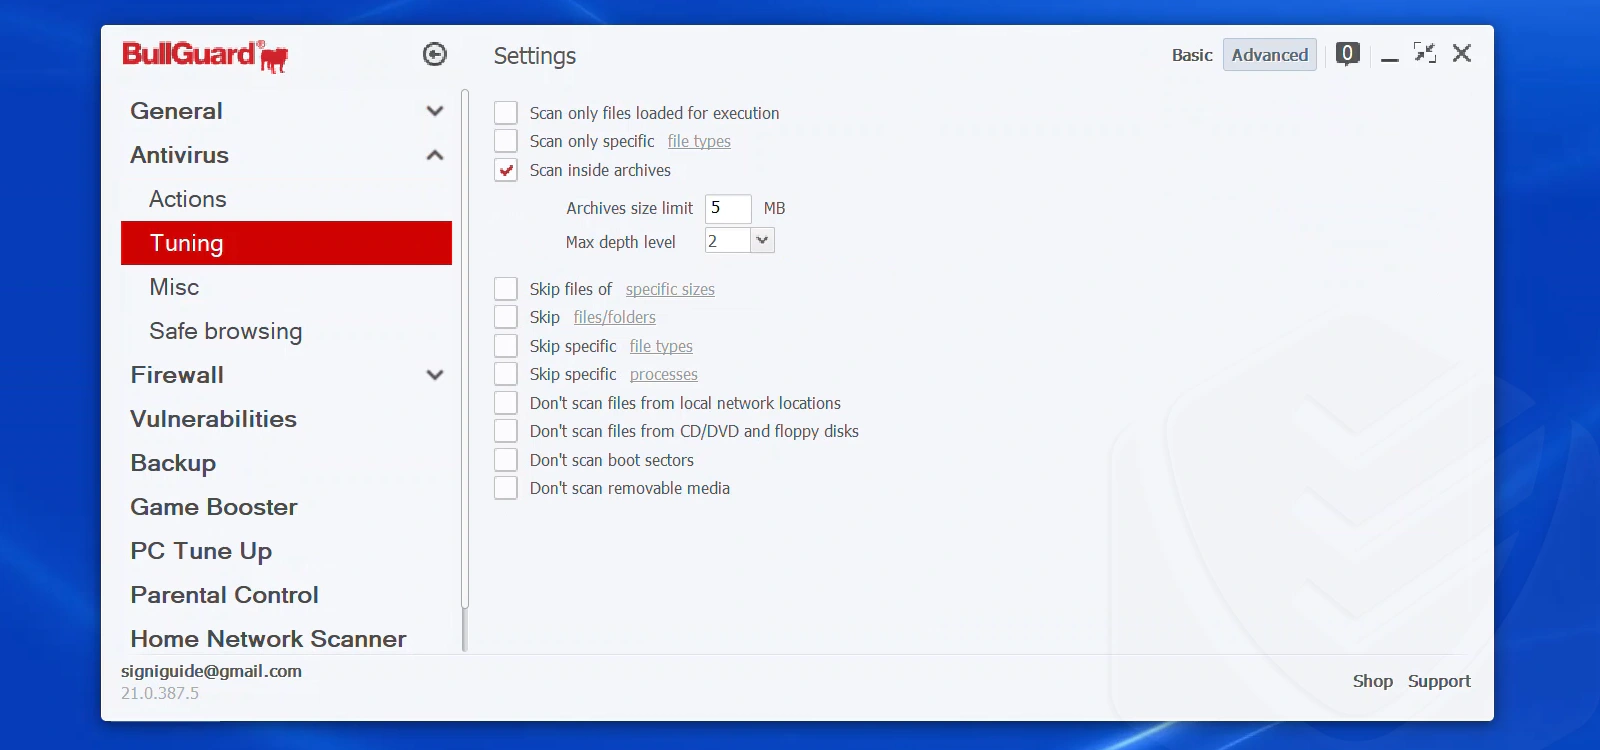
BullGuard took just 12 minutes to scan roughly 800k files. That’s incredibly fast for a deep malware scan. In fact, it was so fast that I was a bit concerned that the scan wasn’t deep enough.
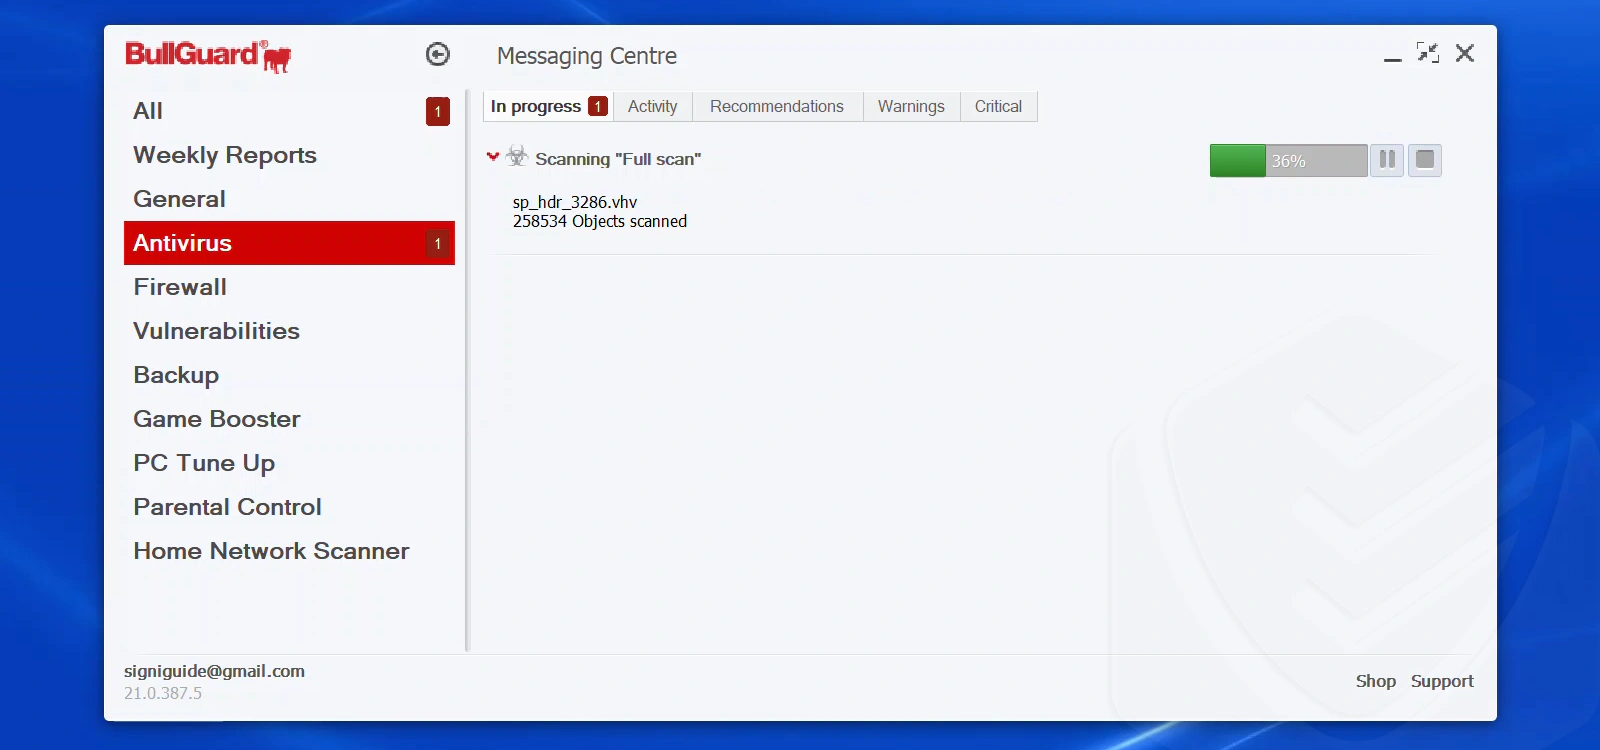
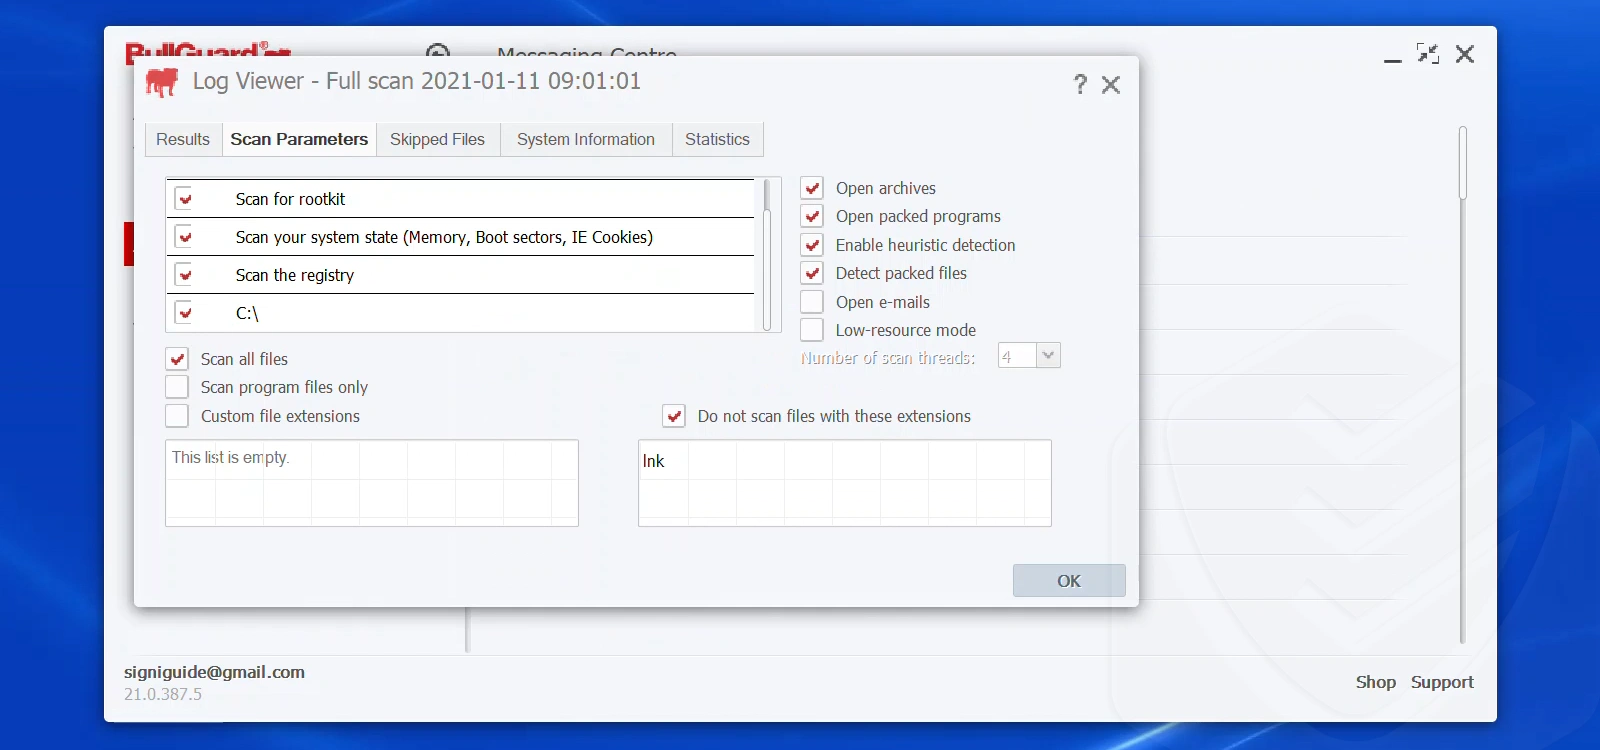
To view the scan report, I clicked on a link (BullGuard creates one after each scan) — “View Report”. This took me to the messaging center (log), where I could view the results and scan parameters in more detail.
Quick scan
The quick scan feature only targets files that are common hosts of viruses or other forms of malware. Scanned files included rootkits, registry, processes, as well as temporary files. On my test PC, the quick scan process was quick indeed! It took only 10 seconds to scan over 2000 files. As I expected, this scan didn’t detect any threats.
Custom scan
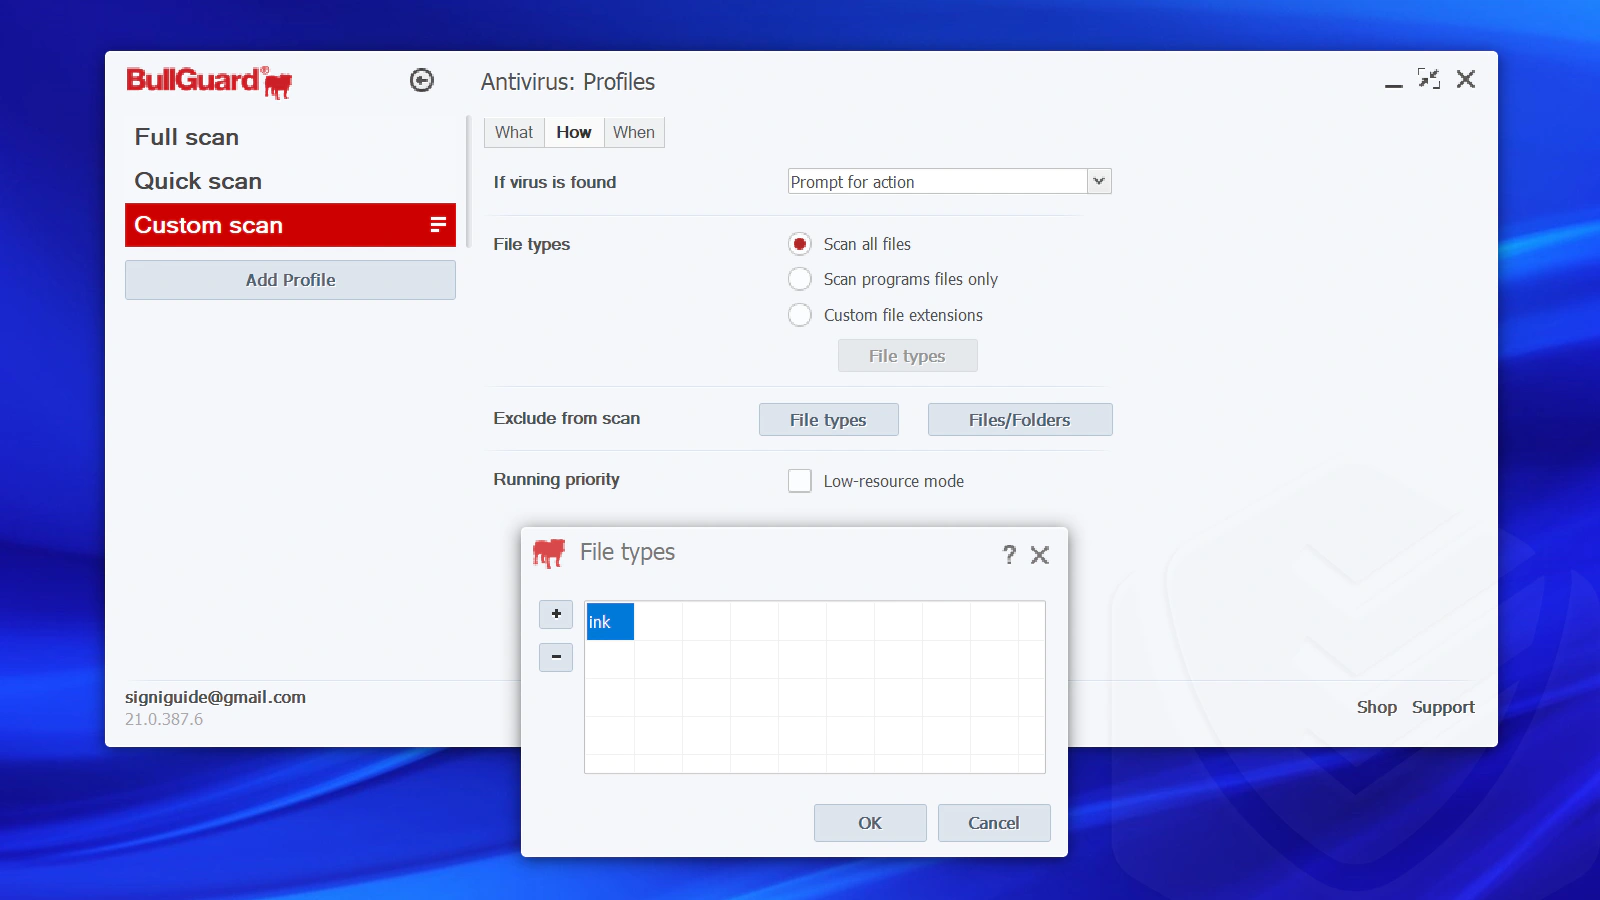
Things got more interesting with the custom scan module. It allows you to schedule scans by creating antivirus profiles. Naturally, the option you can control is what files to scan:
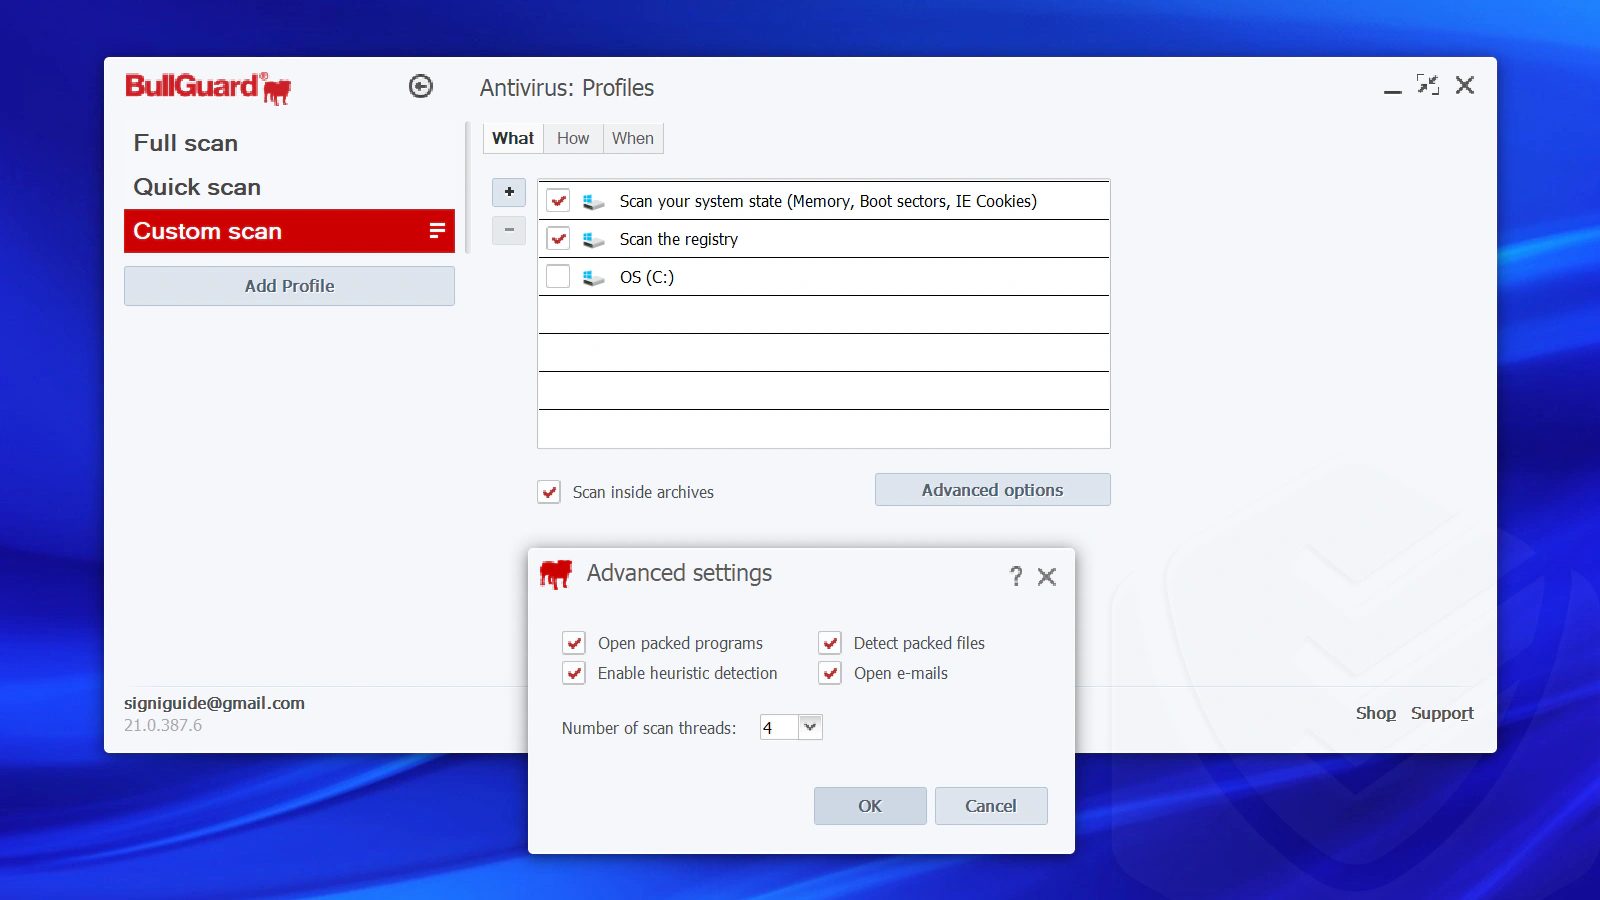
…how to scan them:
…and when:
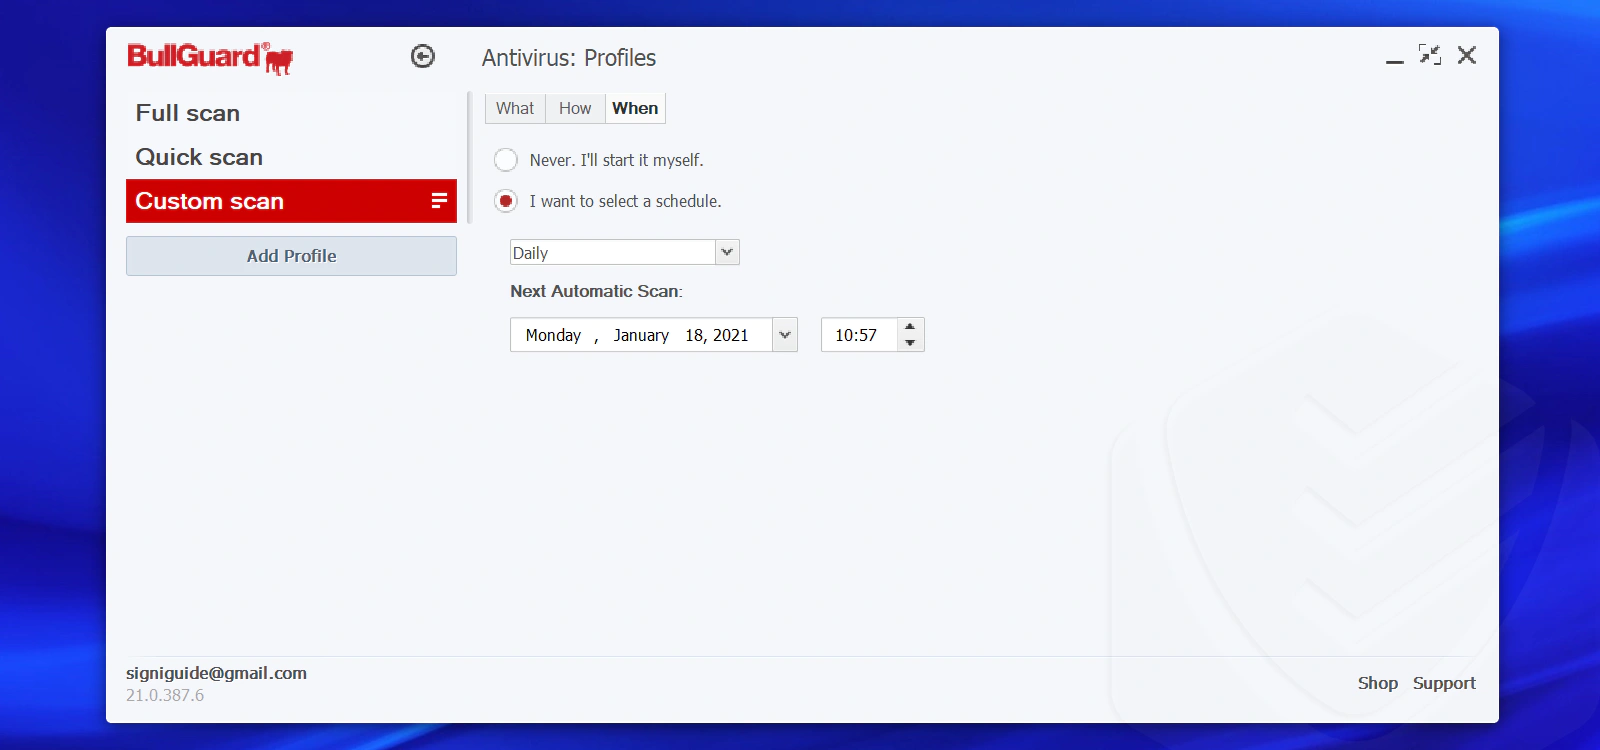
During my BullGuard review, I noticed something strange about the automatic scans. As soon as I configured a custom automatic scan, the solution performed a scan once every few minutes, even though I didn’t set a scanning interval. Maybe they’ll fix that in a future update.
Safe Browsing
The safe browsing feature protects you from phishing attempts and malicious websites. It’s a mixture between the secure browser feature (more on that later) and the parental controls. What it does is twofold: it detects suspicious links in search engine result pages and it also blocks websites.
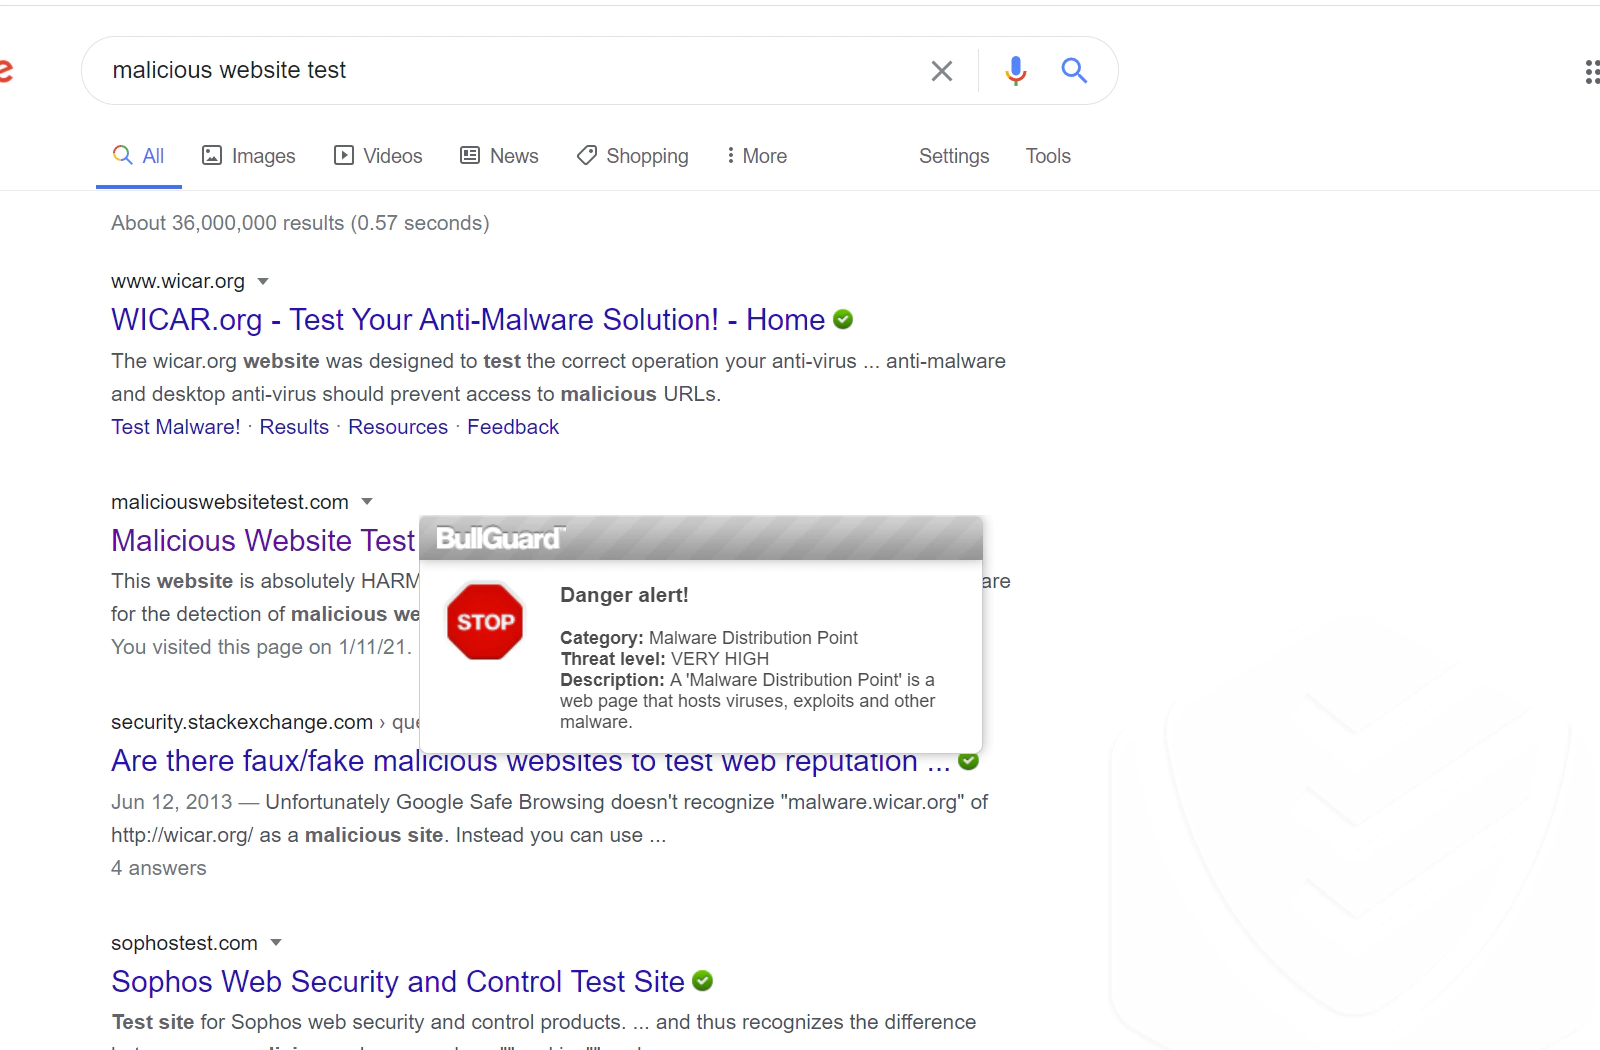
If you enable safe browsing, you’ll see varios icons next to links in search engine results (Google, Bing, Yahoo, or Facebook) in accordance to their threat level. No threat = green icon and high threat = red icon. When I searched “malicious website test” on Google using Chrome, BullGuard correctly marked it as a dangerous website:
It’s worth noting that BullGuard won’t install extensions on your browser. I see this as a big plus as you don’t have to worry about updating any extensions.
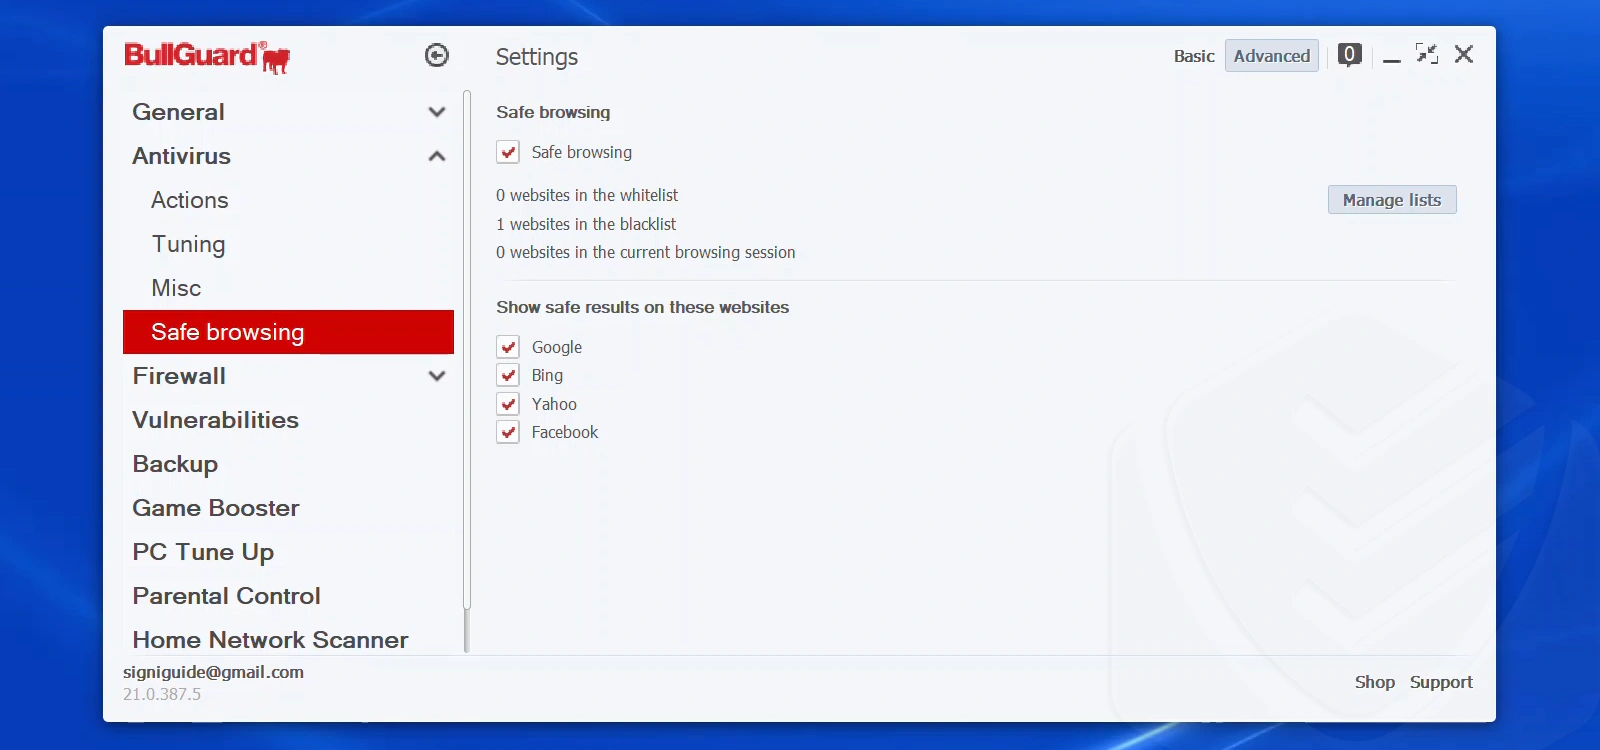
The other option within this module is website blocking; you can access this from the settings page. Every time I attempted to access a blacklisted site, a message popped up stating that the page was blocked.
I proceeded with other tests — opening malicious test links from different sources. I opened these links on my testing PC with multiple browsers.
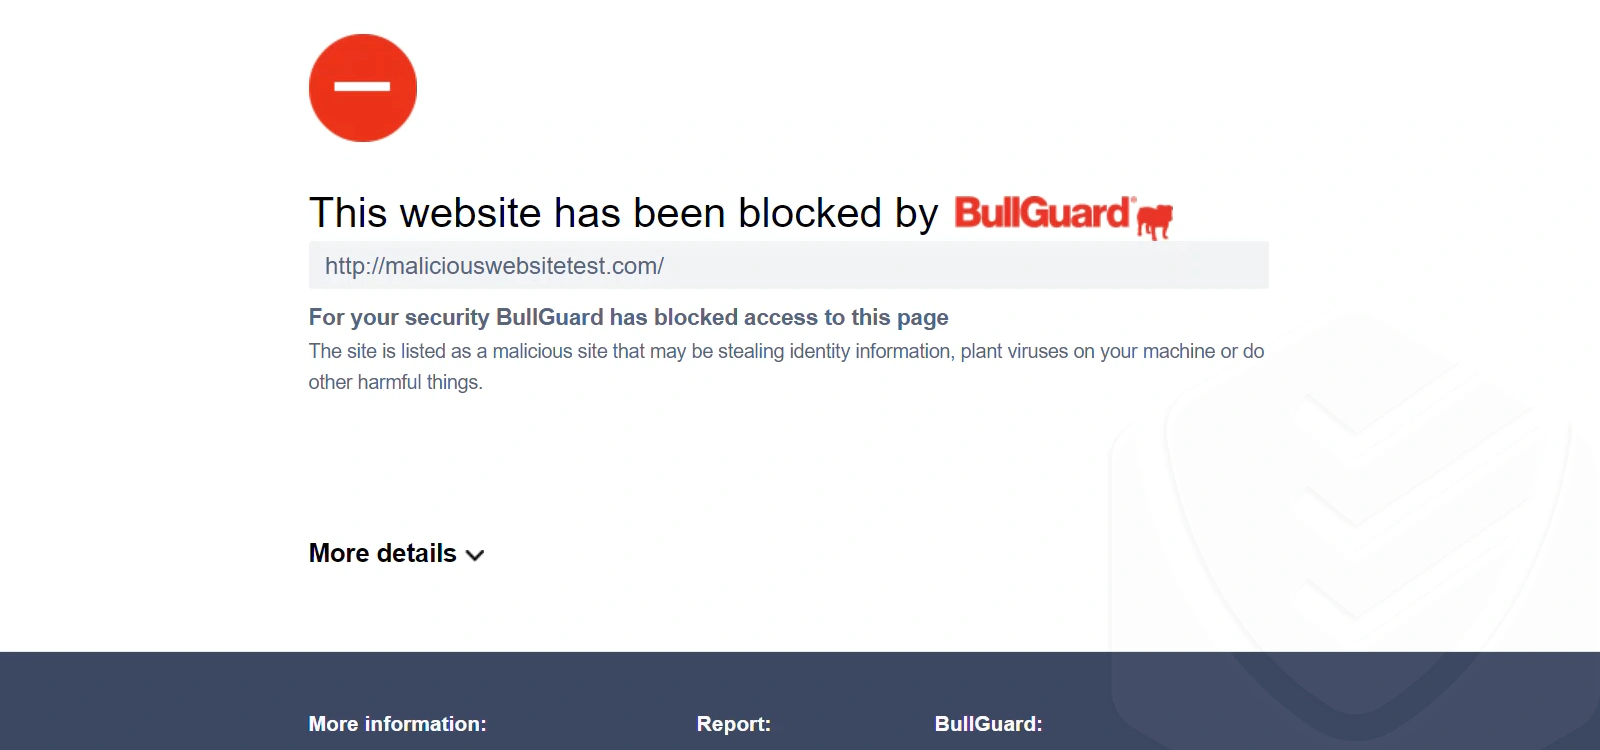
Maliciouswebsitetest.com — BullGuard prevented all browsers from accessing this website. We’re off to a good start!
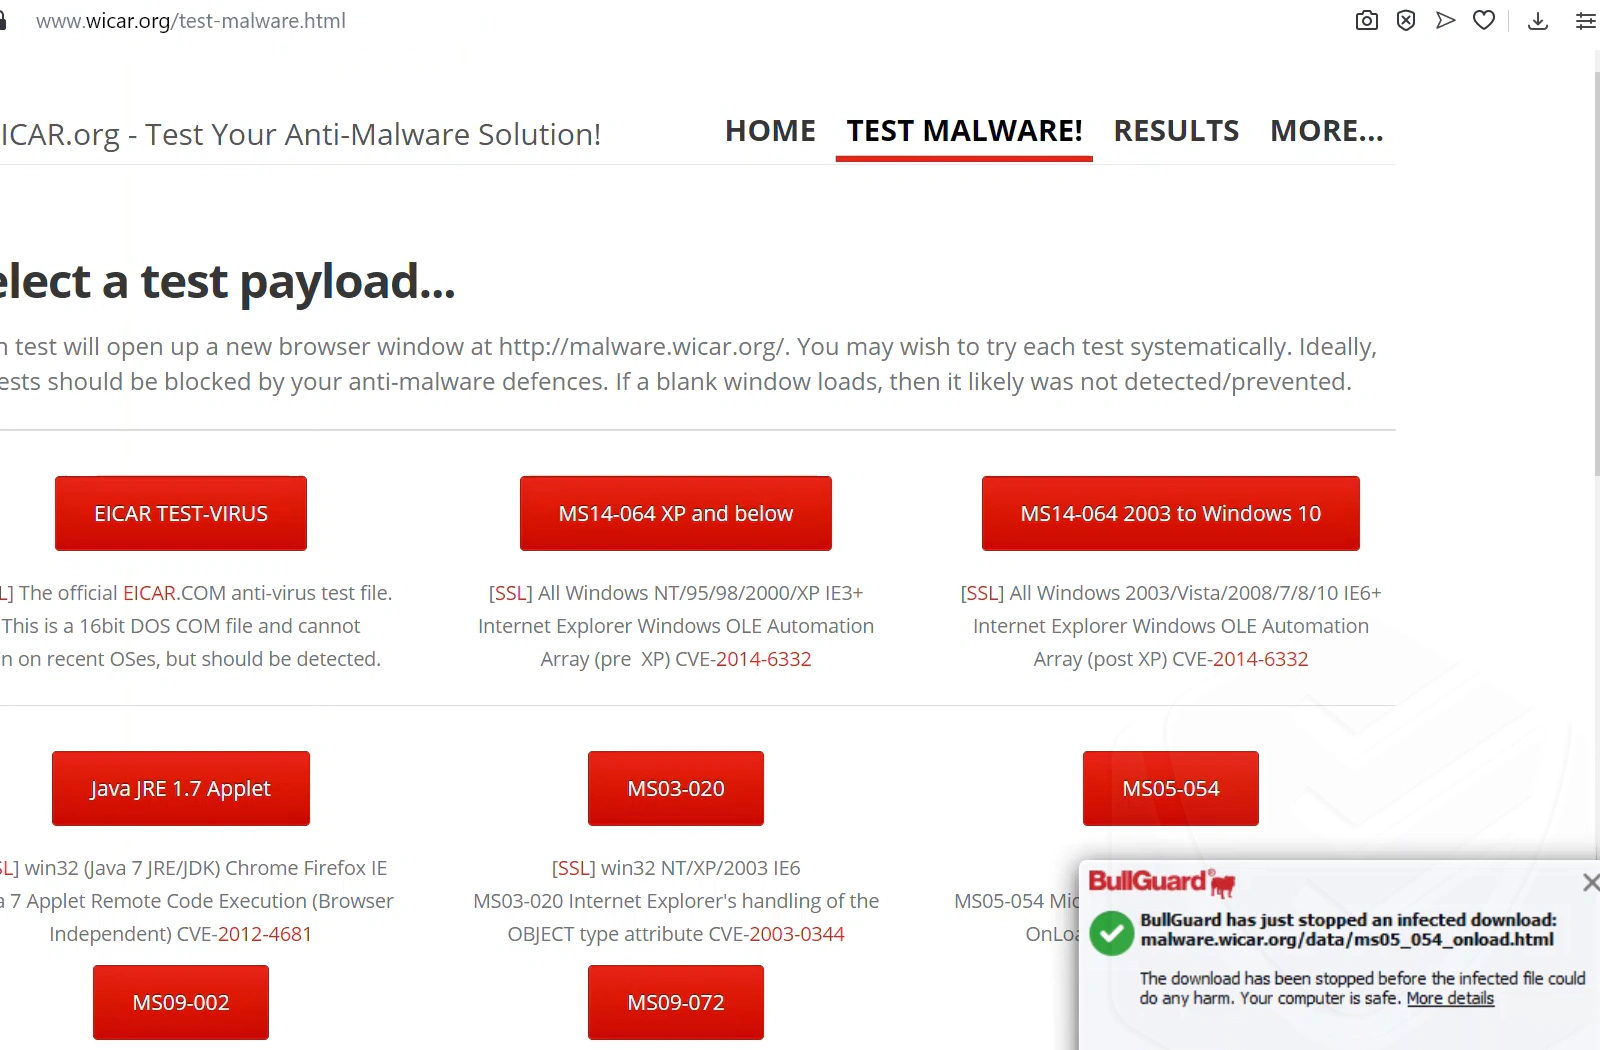
Wicar.org’s Malware Tests — Testing BullGuards’ defenses using these malware tests was not as straightforward as I hoped. The links from this page were blocked either by the browser’s built-in safety features, or by my router.
But did BullGuard try to block them, too?
I looked over BullGuard’s logs for any mention of these pages but couldn’t find any obvious traces. Still, this is a well-known malware test page; I’m sure that BullGuard can block them, even though I saw no proof of that (initially).
In another test, I decided to swap the Wi-Fi connection with a hotspot from my phone. This time, when the internet source was different, BullGuard showed that it did in fact block those threats in the Opera browser. The other browsers used their built-in defenses, but it’s safe to assume that BullGuard protects all browsers from threats, even though it may not be apparent.
Firewall
A firewall is an essential feature on any PC. They stop potential threats and attacks dead in their tracks throughout your entire network. BullGuard’s firewall replaces default firewalls, taking control of everything that passes through your network.
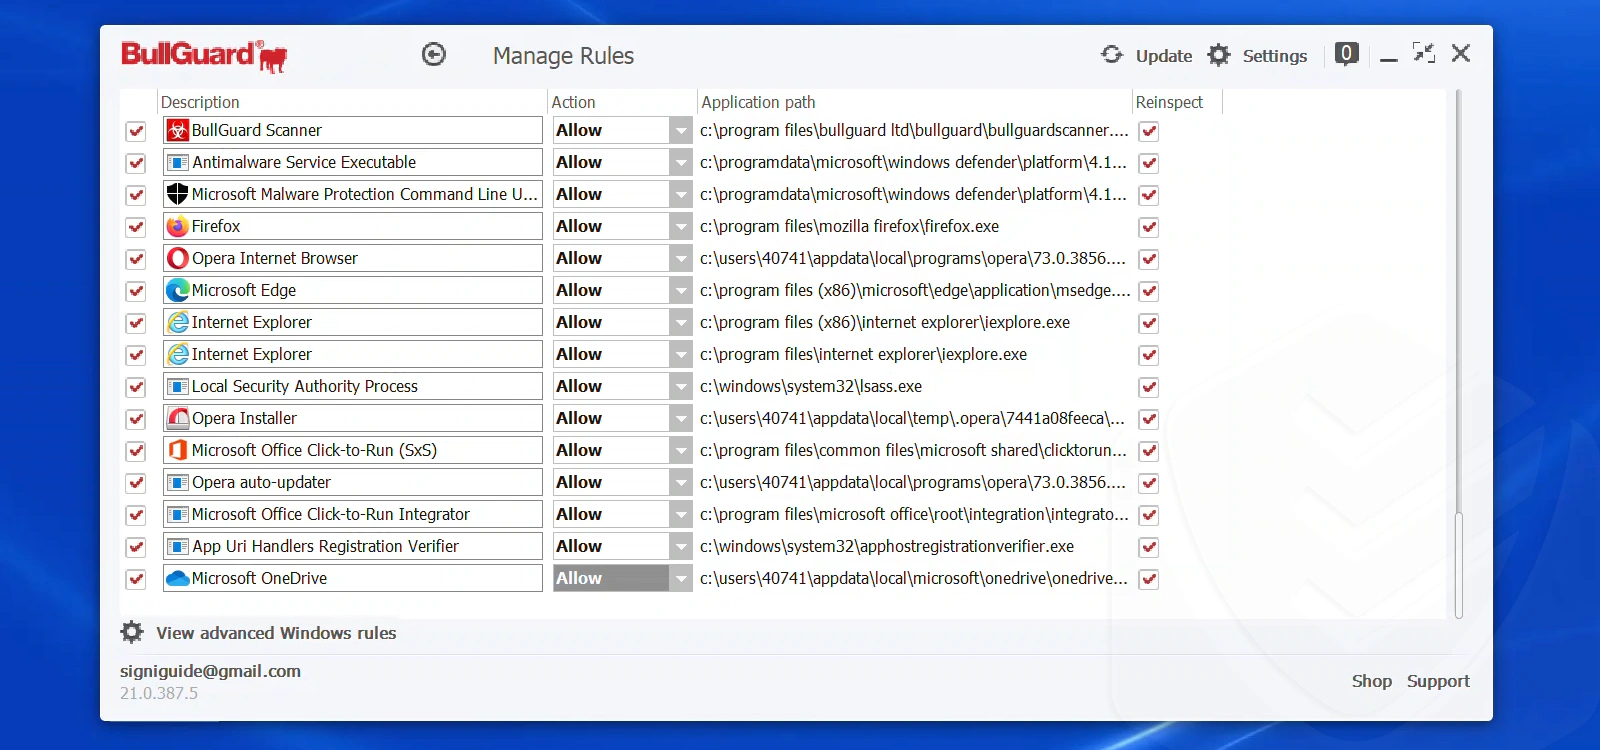
The firewall module lists all kinds of details about the apps and services that your network allows. For starters, you can manage the rules of each app:
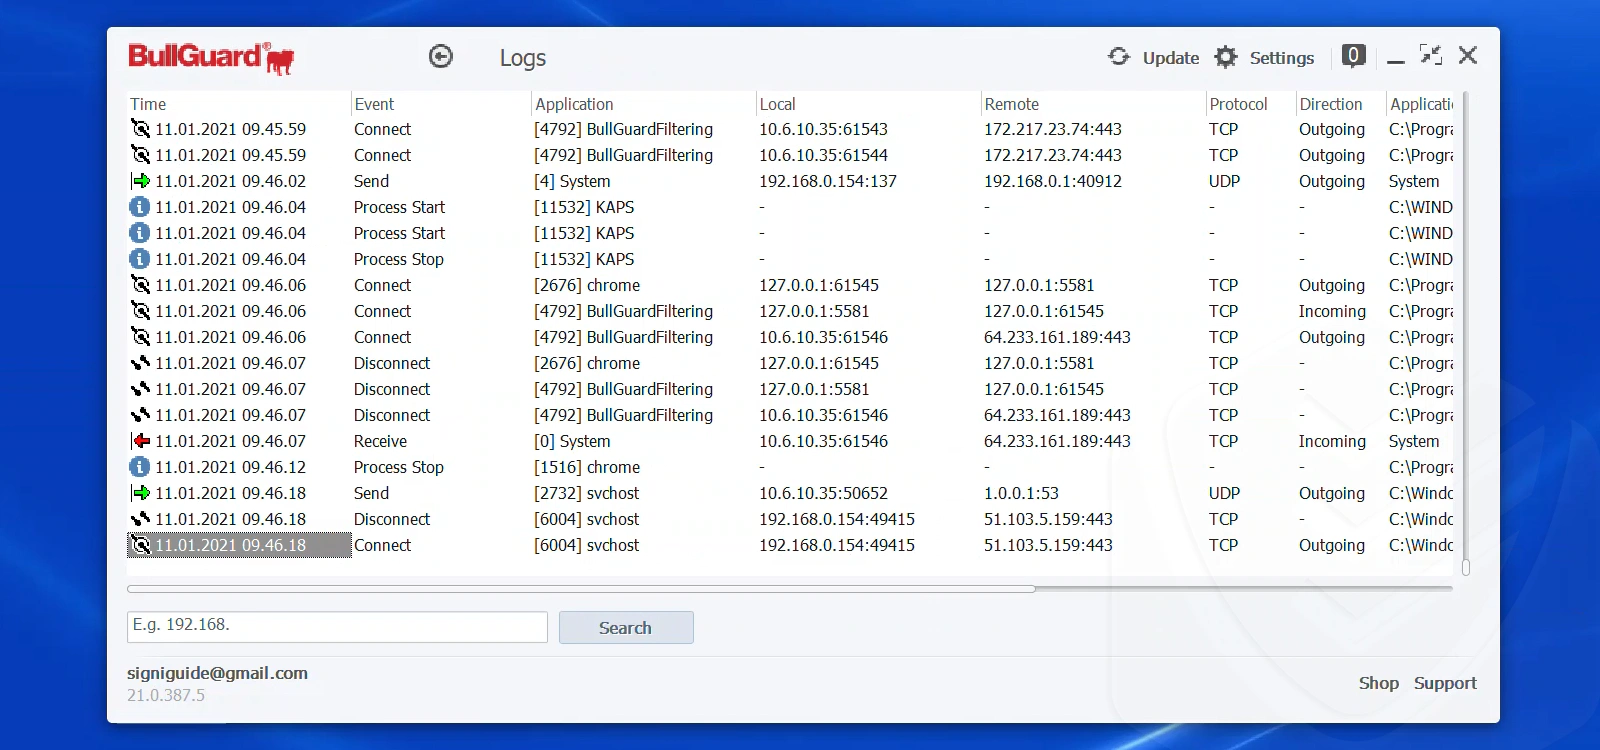
You can also see all of the connections that are active on your computer in real-time.
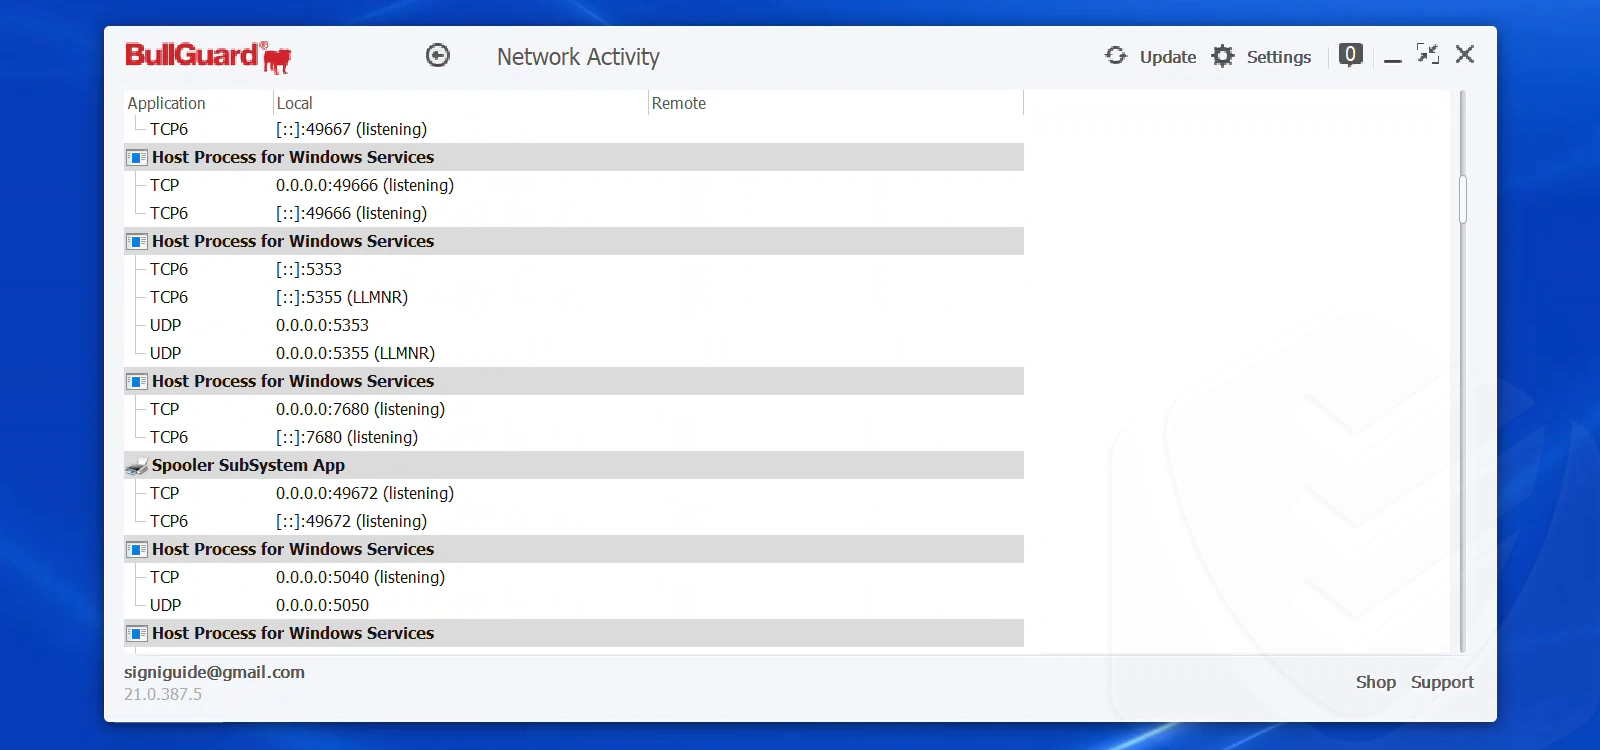
Finally, BullGuard shows you the programs/services it monitors in the Network Activity window:
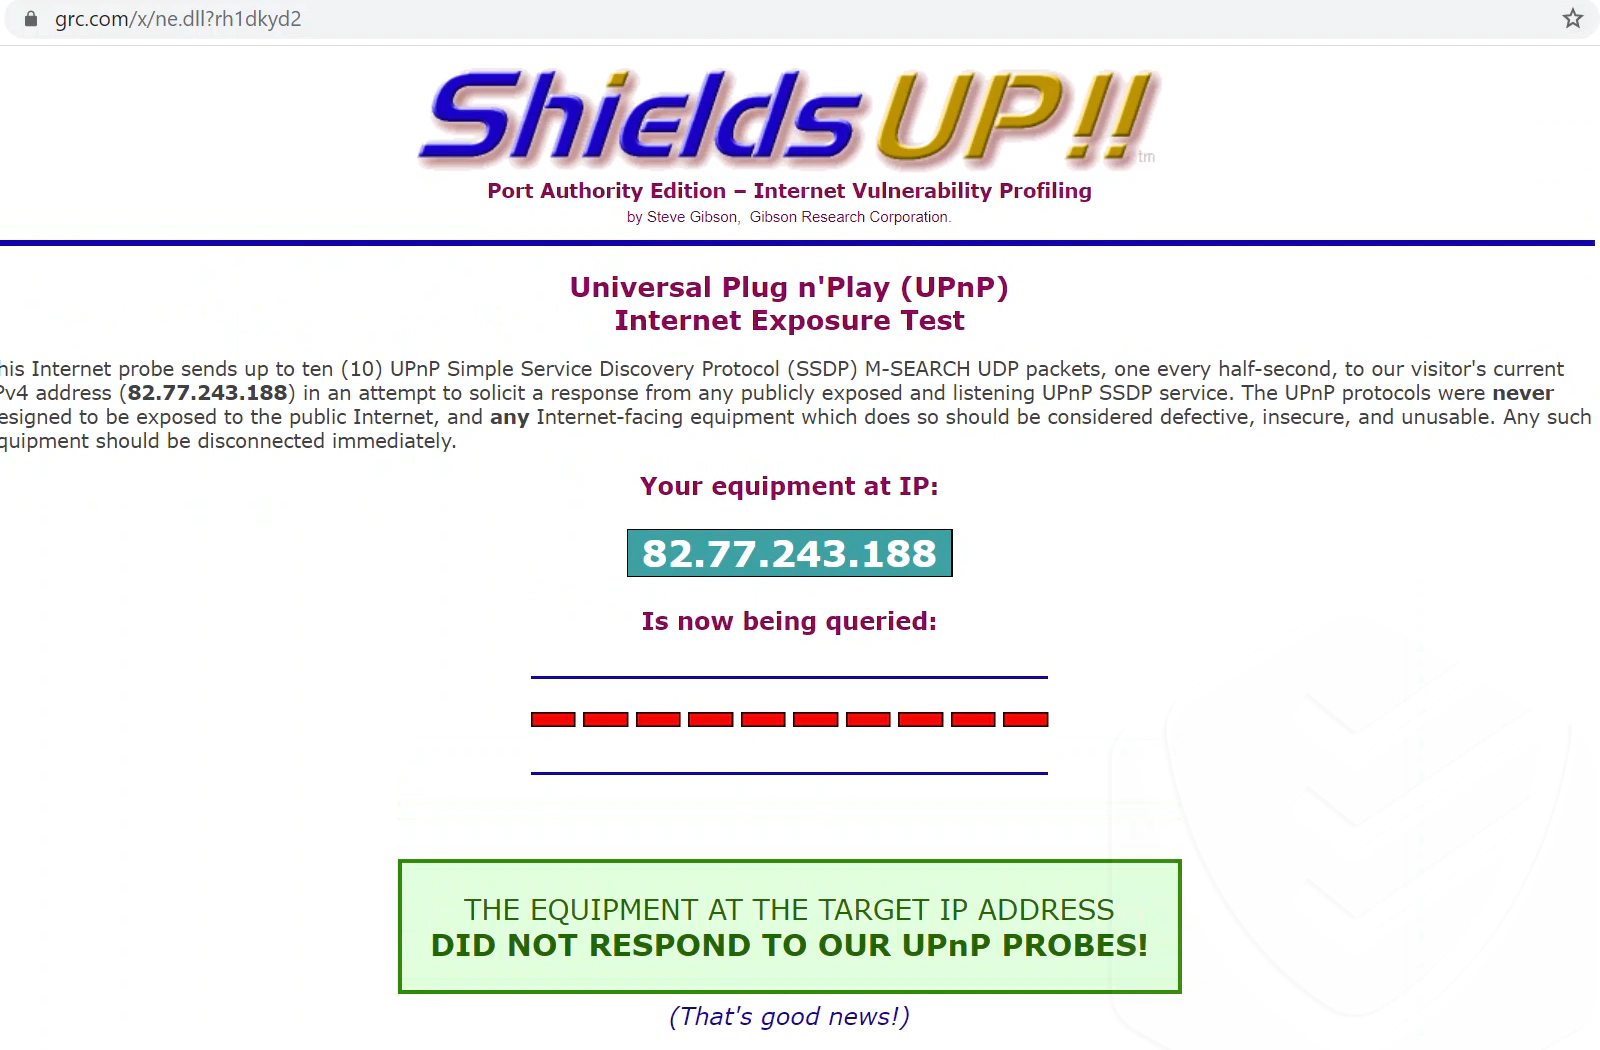
As usual, I tested the firewall using the tool ShieldsUp to analyze their security. The result was excellent — the target IP address was not exposed to public Internet (which is good!).
Vulnerability Scanner
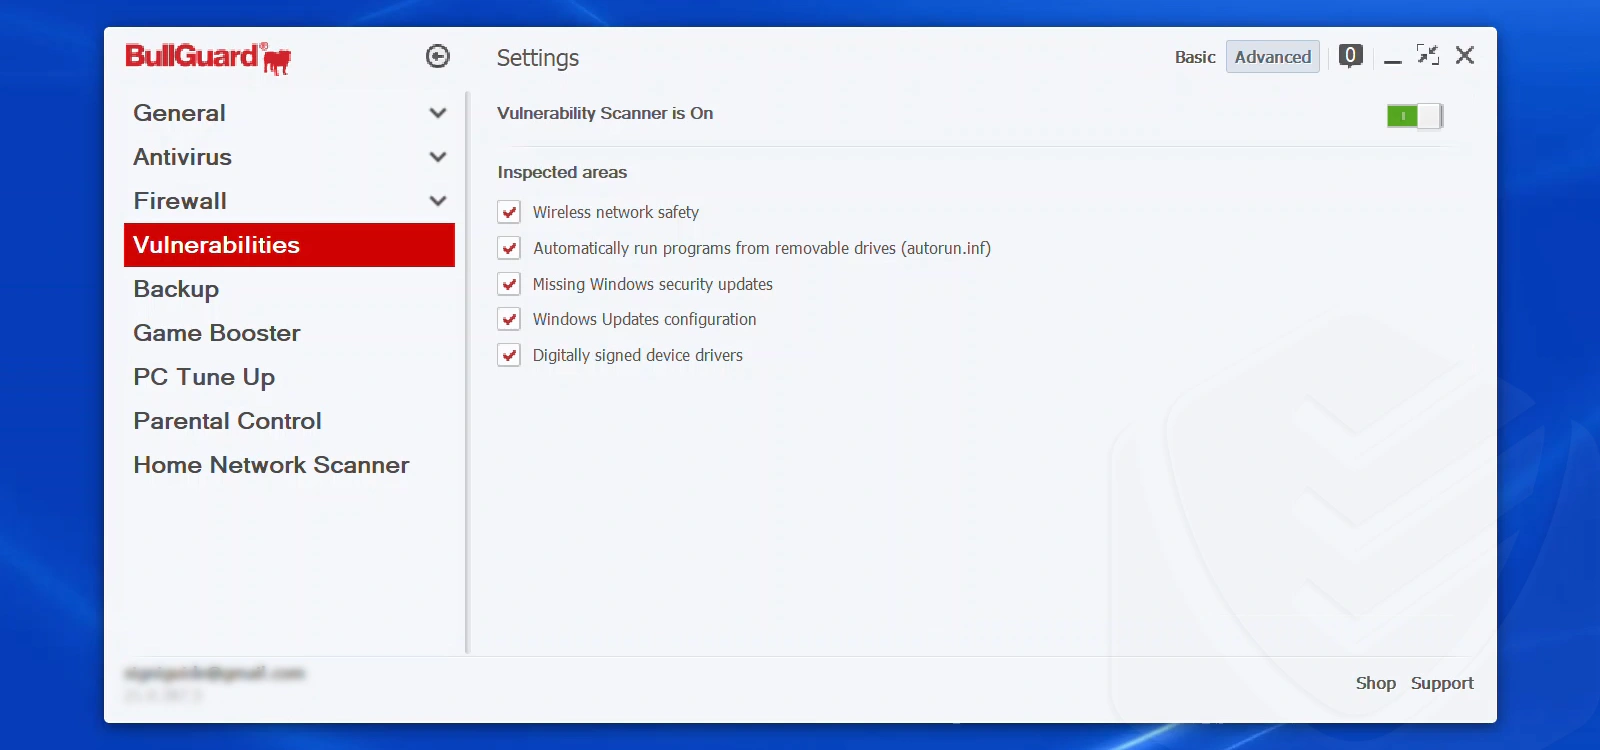
This module scans for security issues such as missing software updates, unsecured Wi-Fi connections, whether device drivers are digitally signed, or if the updated Windows configuration is strong.
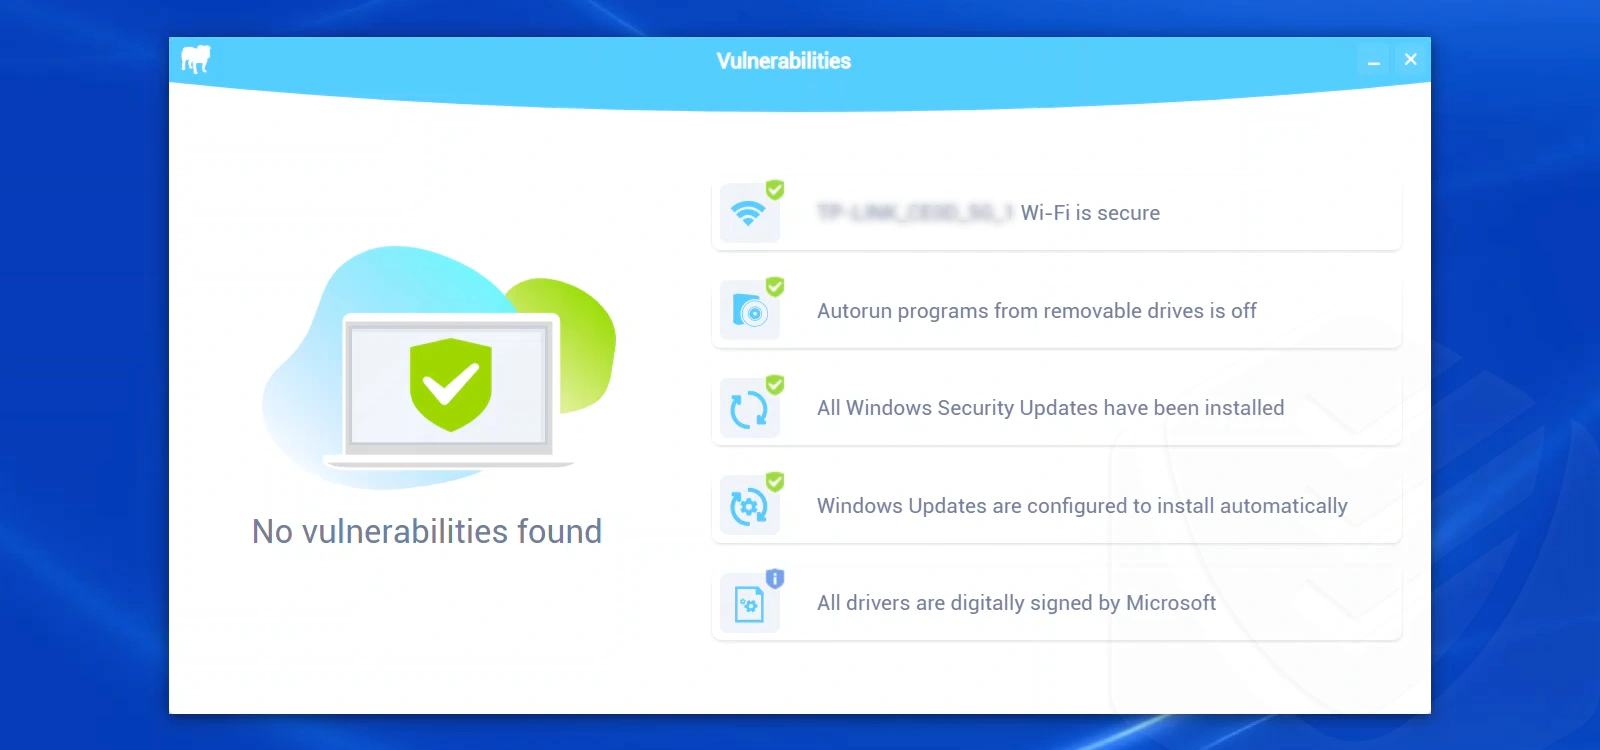
During the testing phase, BullGuard didn’t detect any vulnerabilities. By the way, BullGuard automatically starts scanning for these issues as soon as it’s installed.
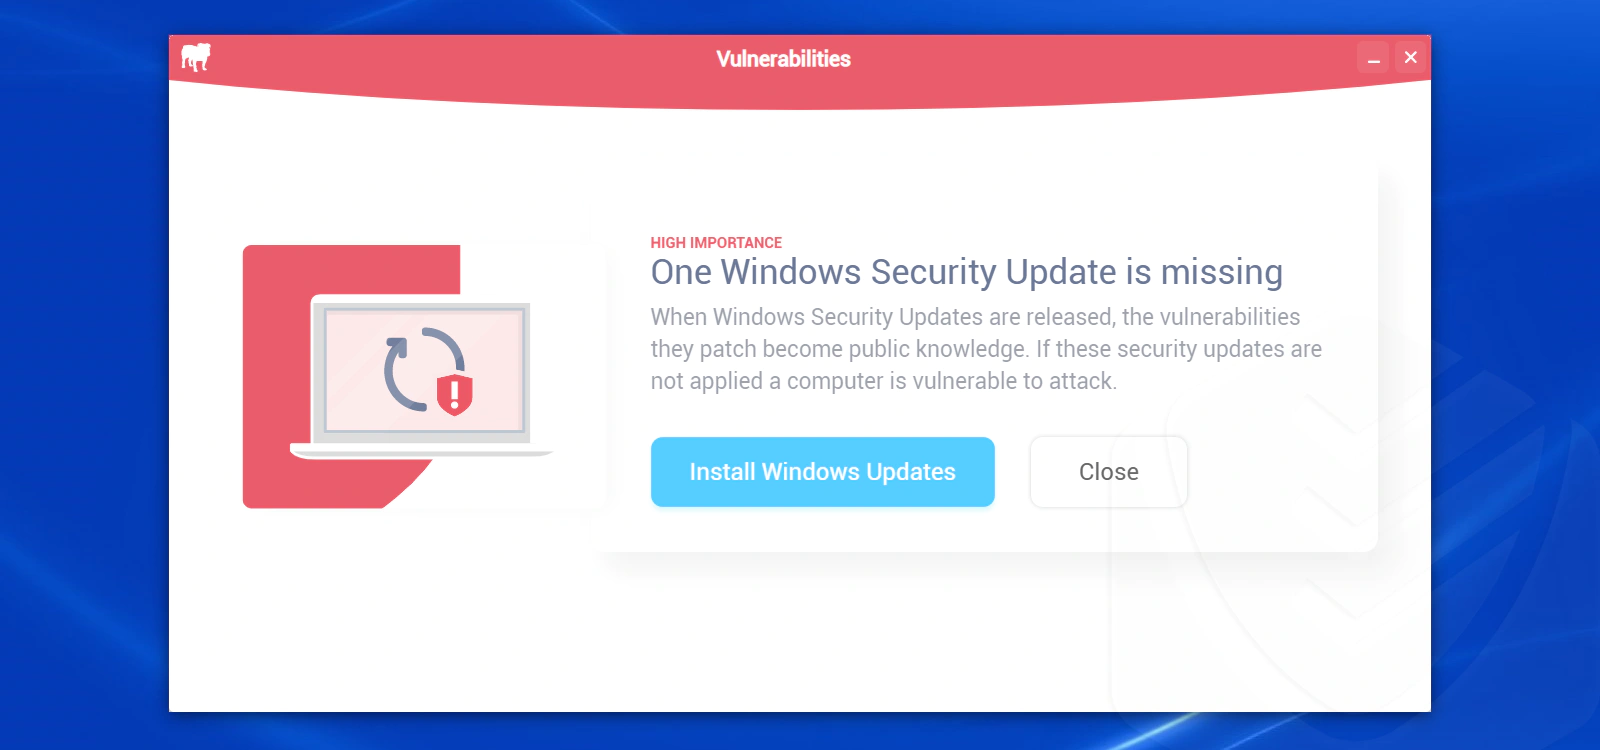
After a few days, BullGuard notified me of important Windows updates faster than Windows itself. Clicking on the button opened the Windows update page where I was able to apply any missing updates right away.
Backup
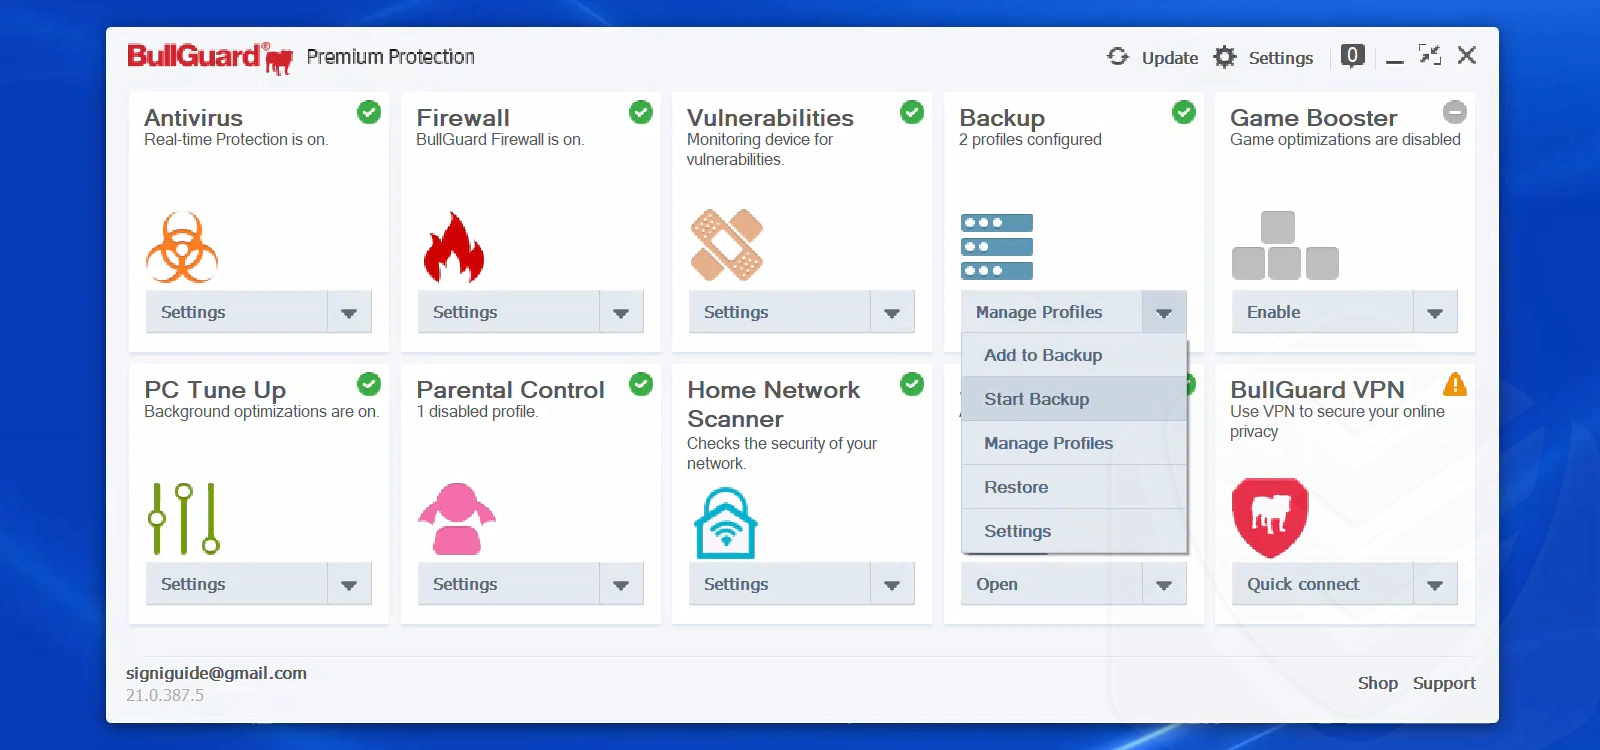
This module can automatically back up your files onto third-party cloud services or physical drives. It’s a welcomed addition to BullGuard’s arsenal, even though they don’t provide a cloud backup service of their own like Norton.
Nowadays, this feature enables you to connect to a cloud service: Dropbox, Google Drive, or OneDrive. The fourth option is to use an external drive or network.
You can start a new backup, manage profiles, or restore files from a backup using the module’s drop-down menu:
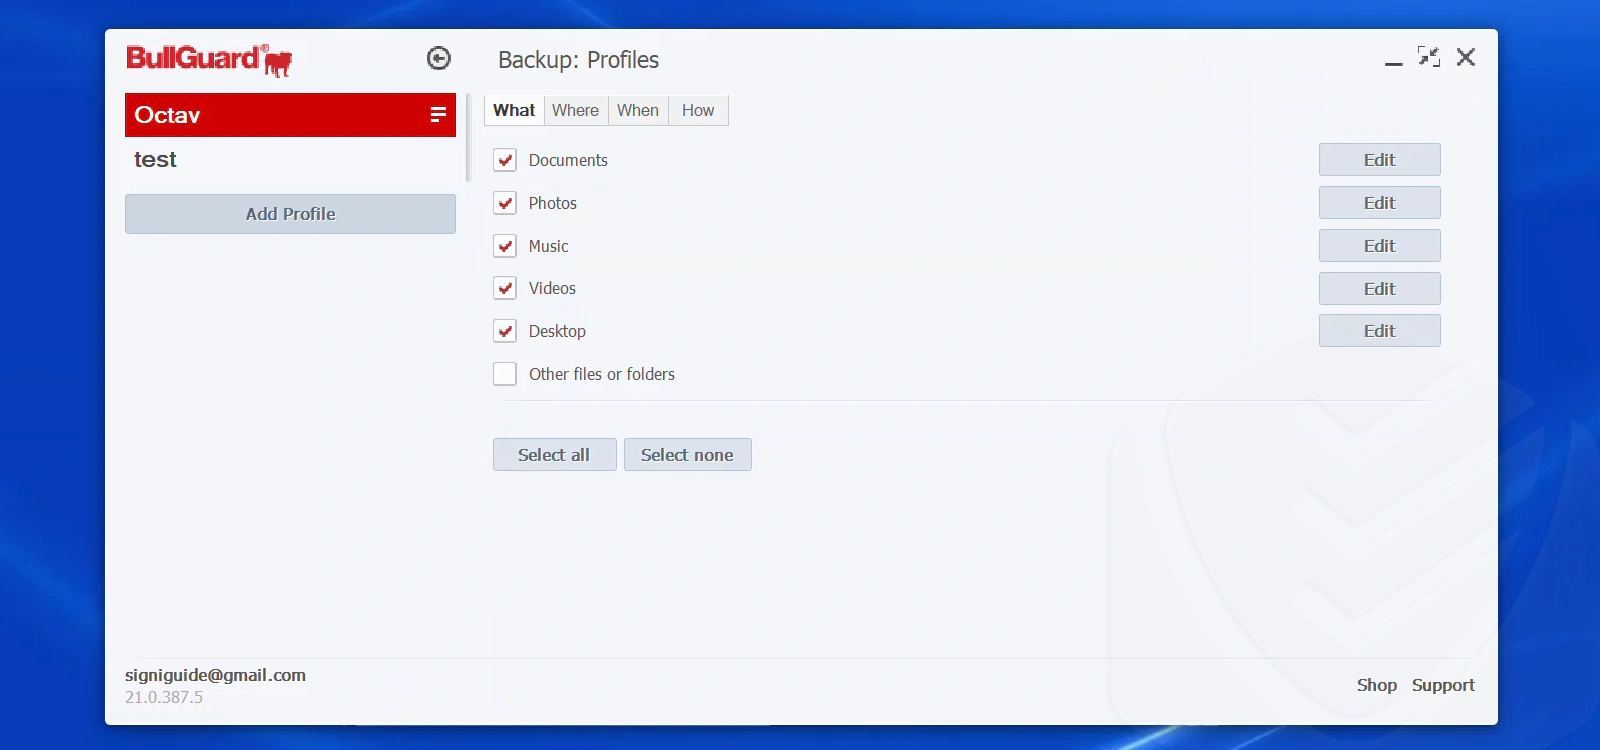
There are multiple configuration options to finetune your backups:
Here’s where you can select where to back up your files:
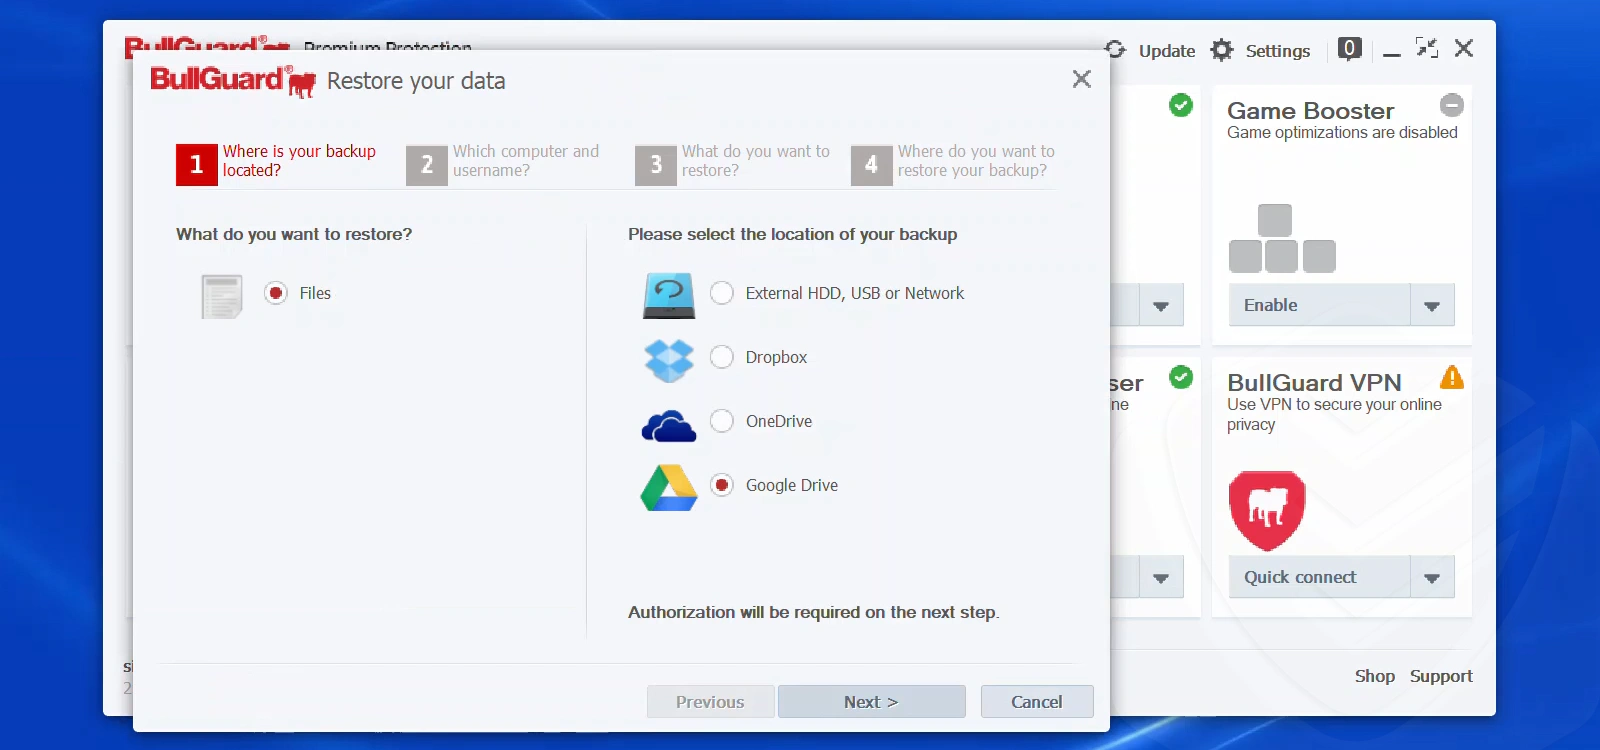
I tested the backup I created via Google Drive. After running through the configuration, the program correctly saved my files to the cloud. I also chose to encrypt my backup before saving it to Drive — BullGuard successfully did so.
PC Tuneup
The Tuneup feature is something that comes included in most premium packages. BullGuard is no different. In fact, it’s one of the best cleanup tools I’ve come across. The module includes four tools that can be accessed from a drop-down menu:

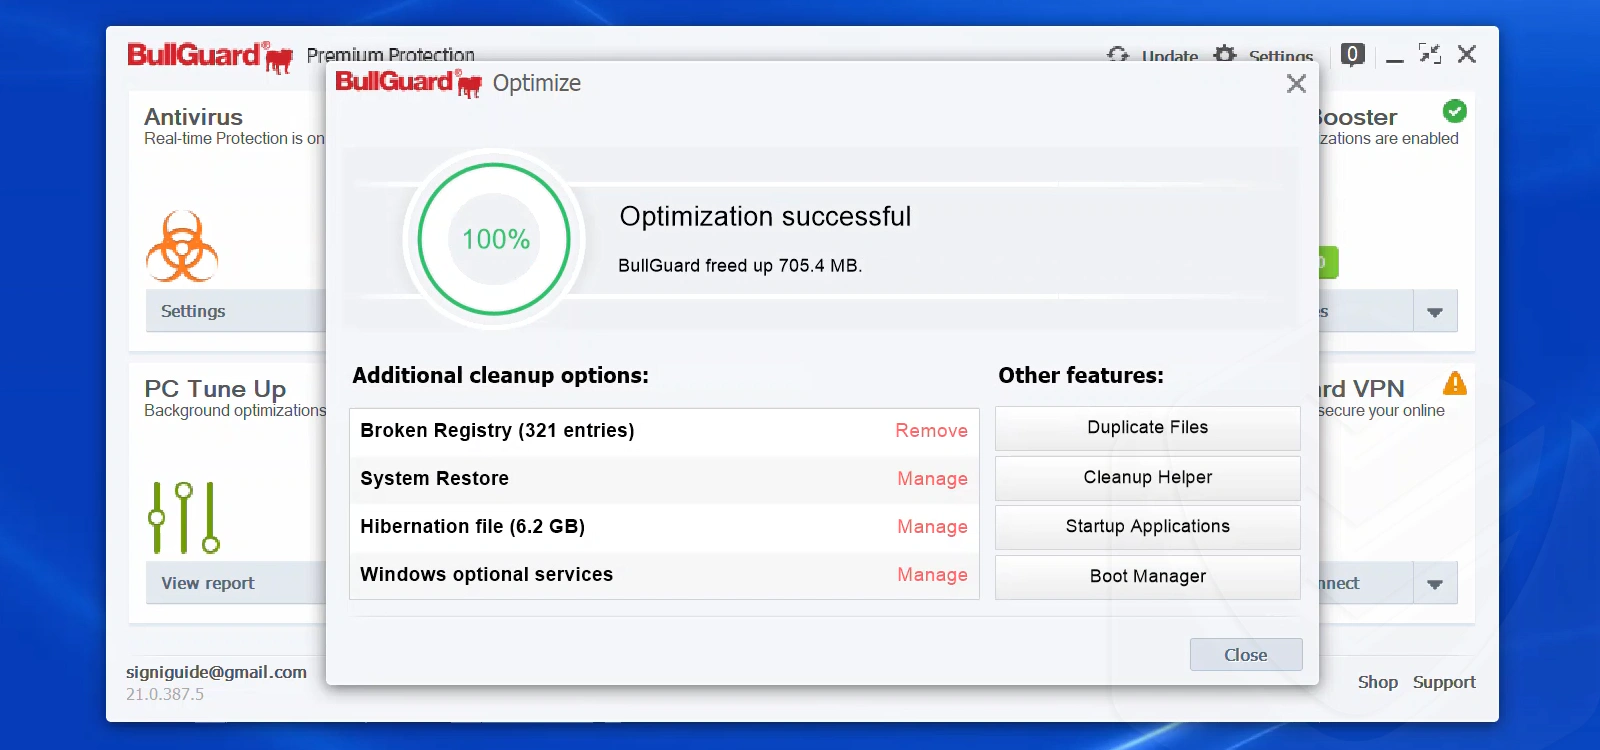
The first feature, Optimize, analyzed my disk drive and located 700 MB of disposable data. This included Windows temp files and the browser’s cache. I was able to clean this up immediately. It also suggested broken registry cleaning and deleting hibernation files; however, I didn’t want to mess with that. I also like that it skips the defragmentation of SSDs.
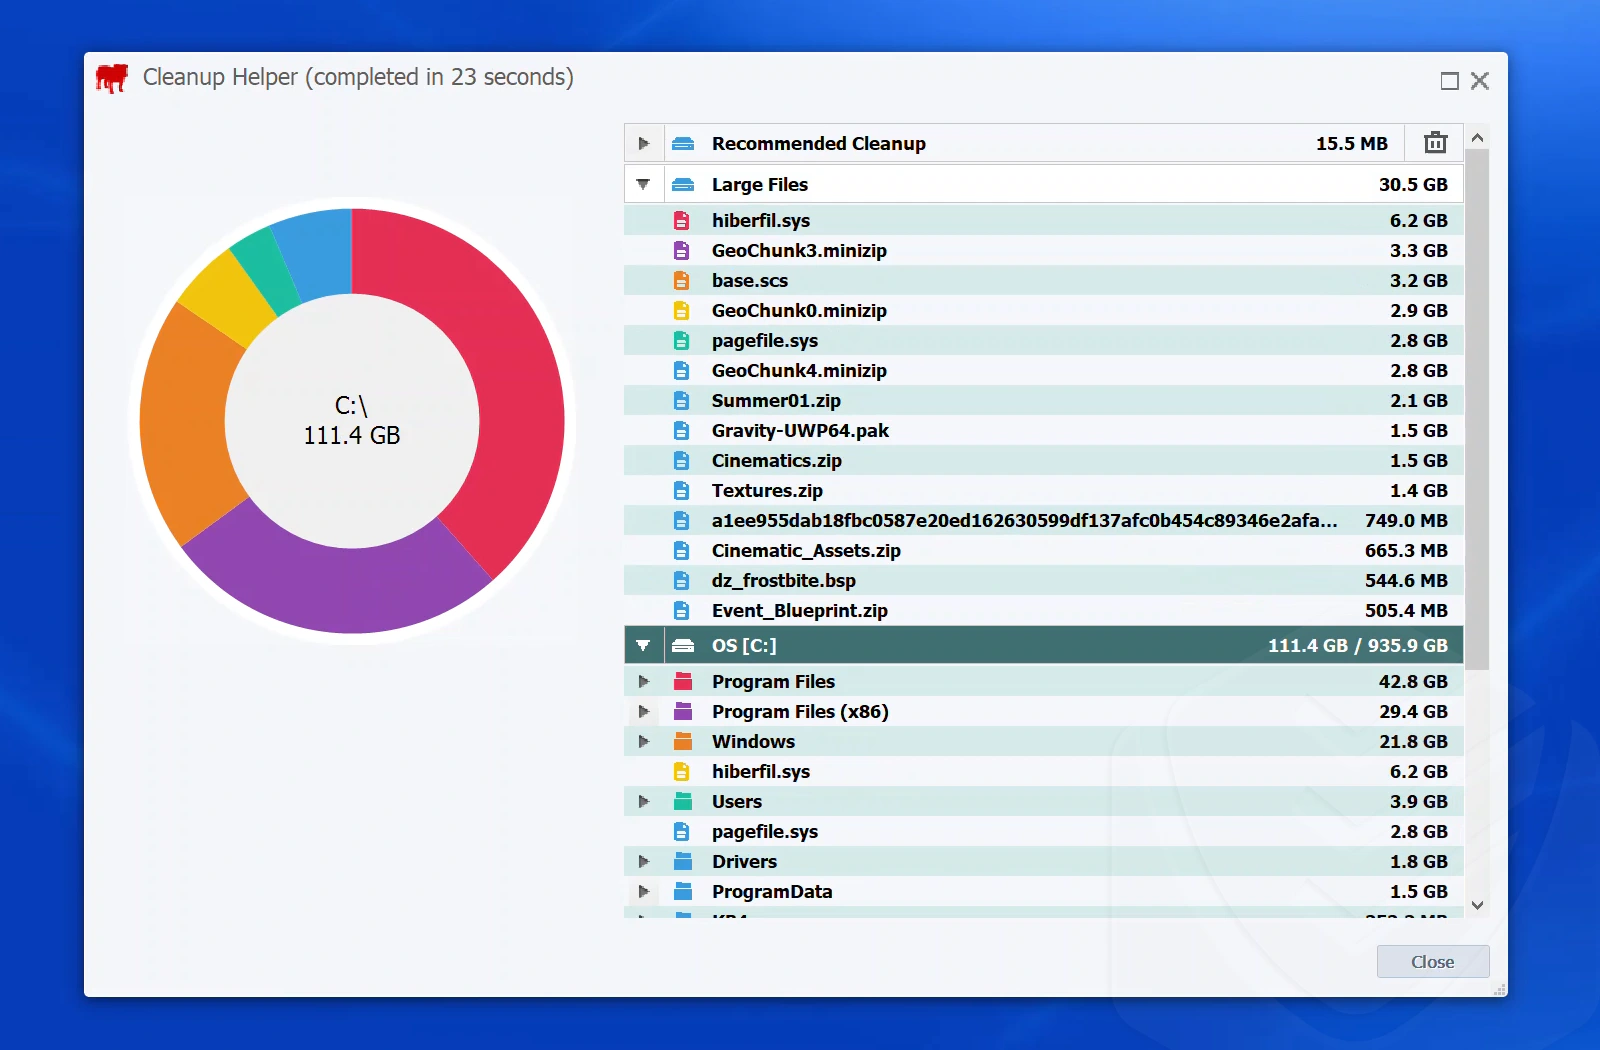
The Cleanup Helper is a similar feature that enables you to visualize the organization of your files. It highlights large files and assigns colors to the various folders on your system. You can also check which files BullGuard recommends you delete.
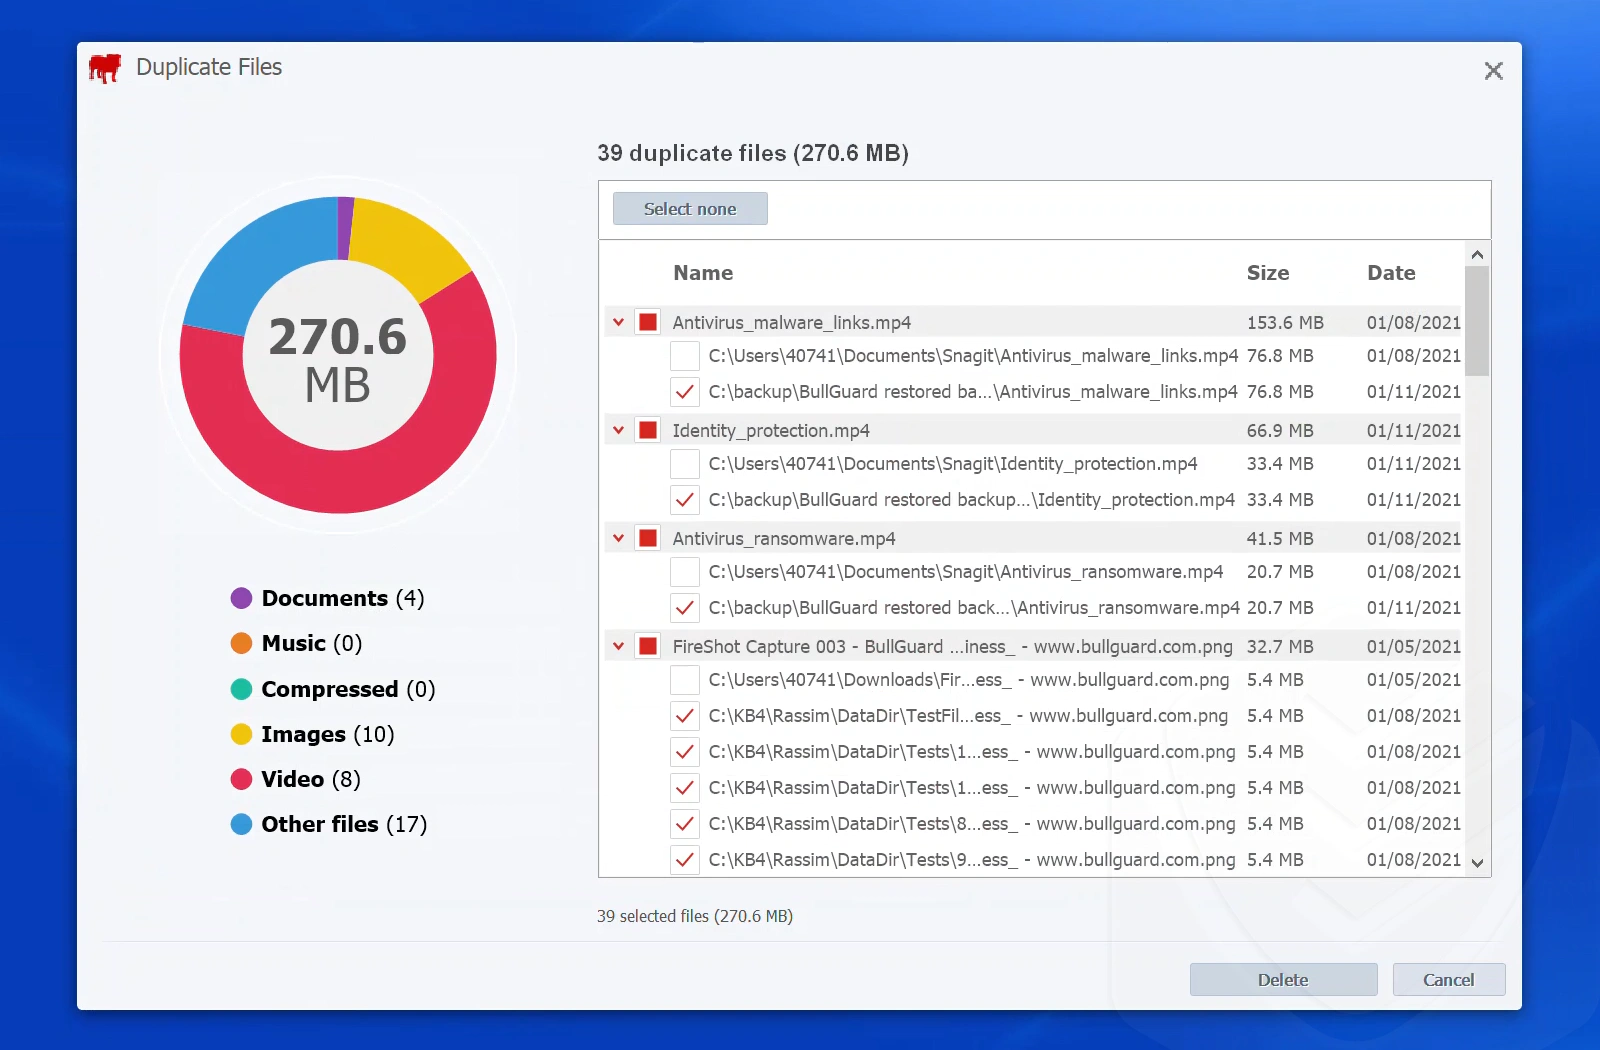
As expected from a PC tuneup tool, there’s a duplicate file finder, too. Bullguard’s has a vibrant interface, with different colors for specific file types. I don’t usually find this feature useful but it doesn’t hurt to have it. You might save some space by deleting identical or similar files, but make sure you manually verify all files before deleting them.
The Startup Manager is a basic version of its Windows counterpart. However, there’s an interesting feature included called Delayed. A “delayed” application will only start after all Window’s processes and services have fully loaded. This speeds up Window’s startup time.
Now:
You can only access the startup manager after you’ve completed a system optimization check. That’s a strange placement of the feature.
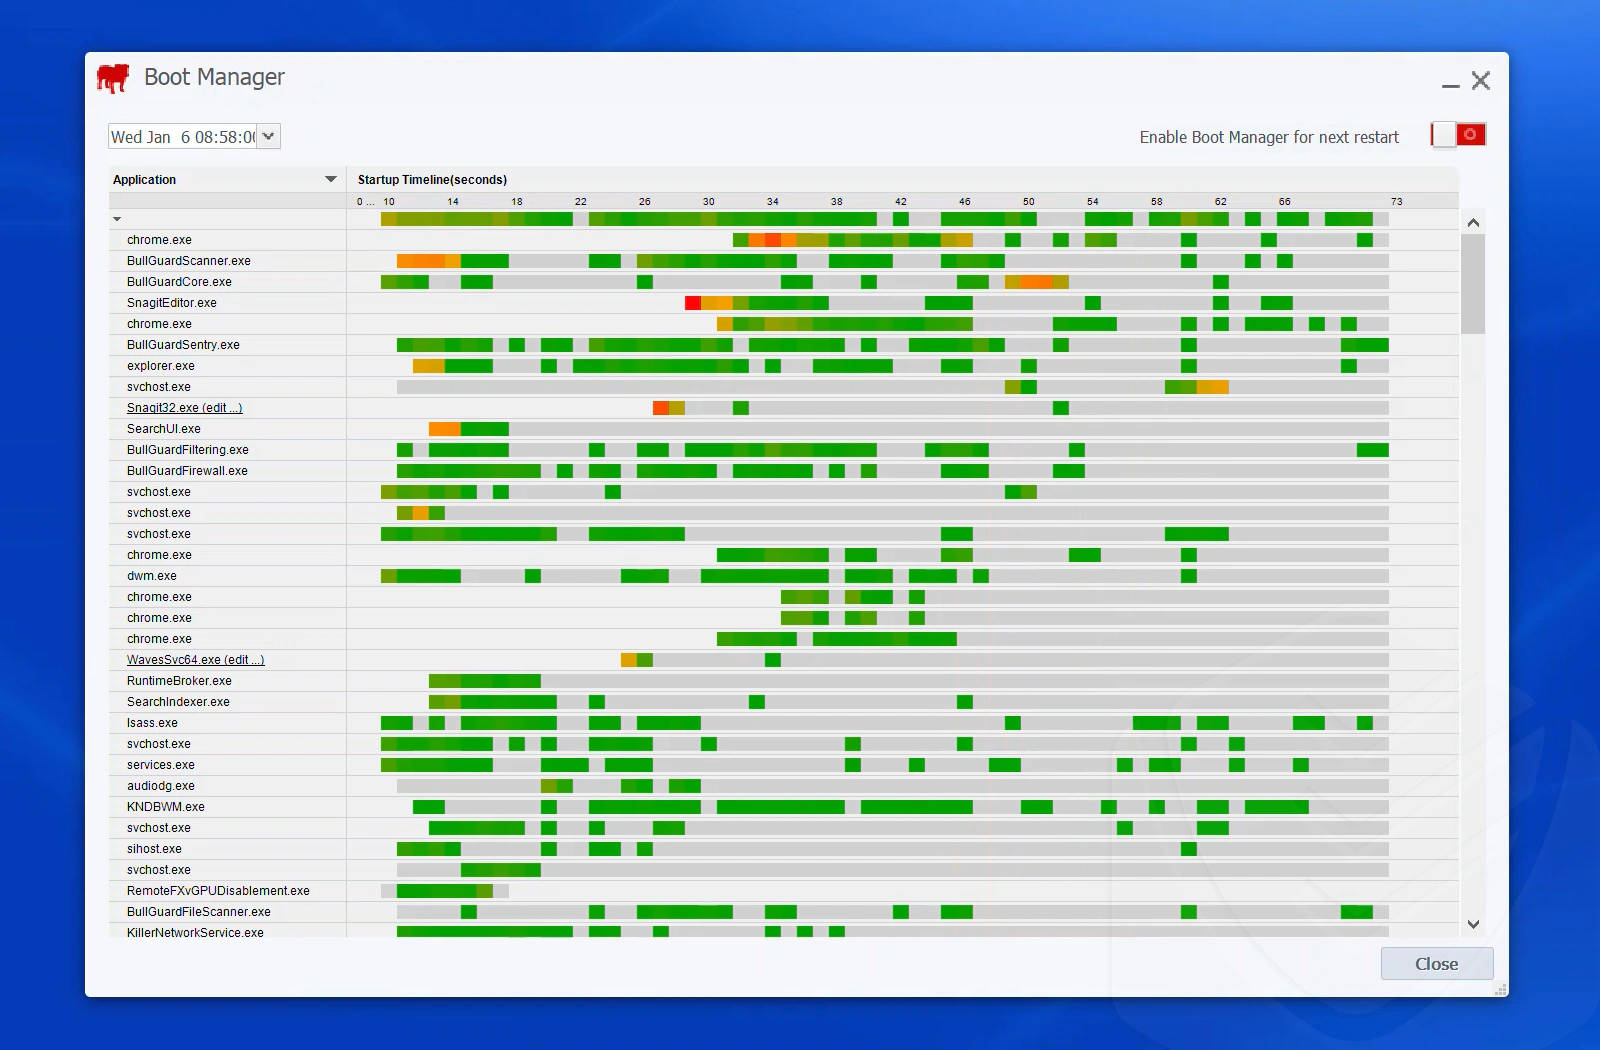
As for the Boot Manager, it allows you to see the programs and services that automatically start when Windows loads. Here, you can see a graphical representation of an app’s startup pattern. I’m not sure how this can be useful, though.
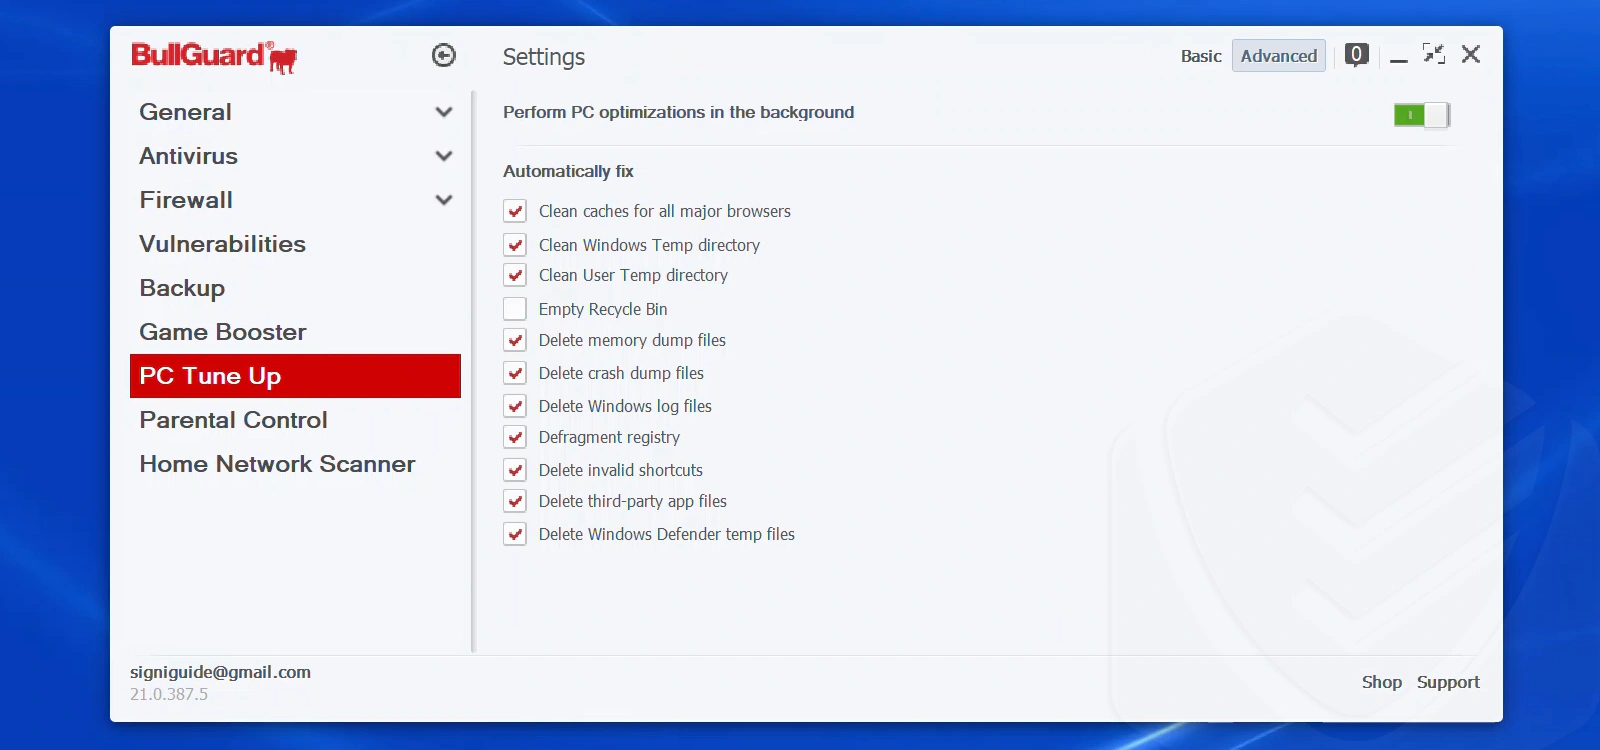
Lastly, there are quite a few options when it comes to configuring the cleanup process. That said, you can’t configure browser cleanup. It would be useful to be able to see what was deleted for good. Unfortunately, you can’t view what registries it marks as broken, either.
Home Network Scanner
The Home Network Scanner is another welcome feature included in BullGuard’s Premium package. It scans all devices connected to your home network. This includes routers, smartphones, smart TVs, and so on.
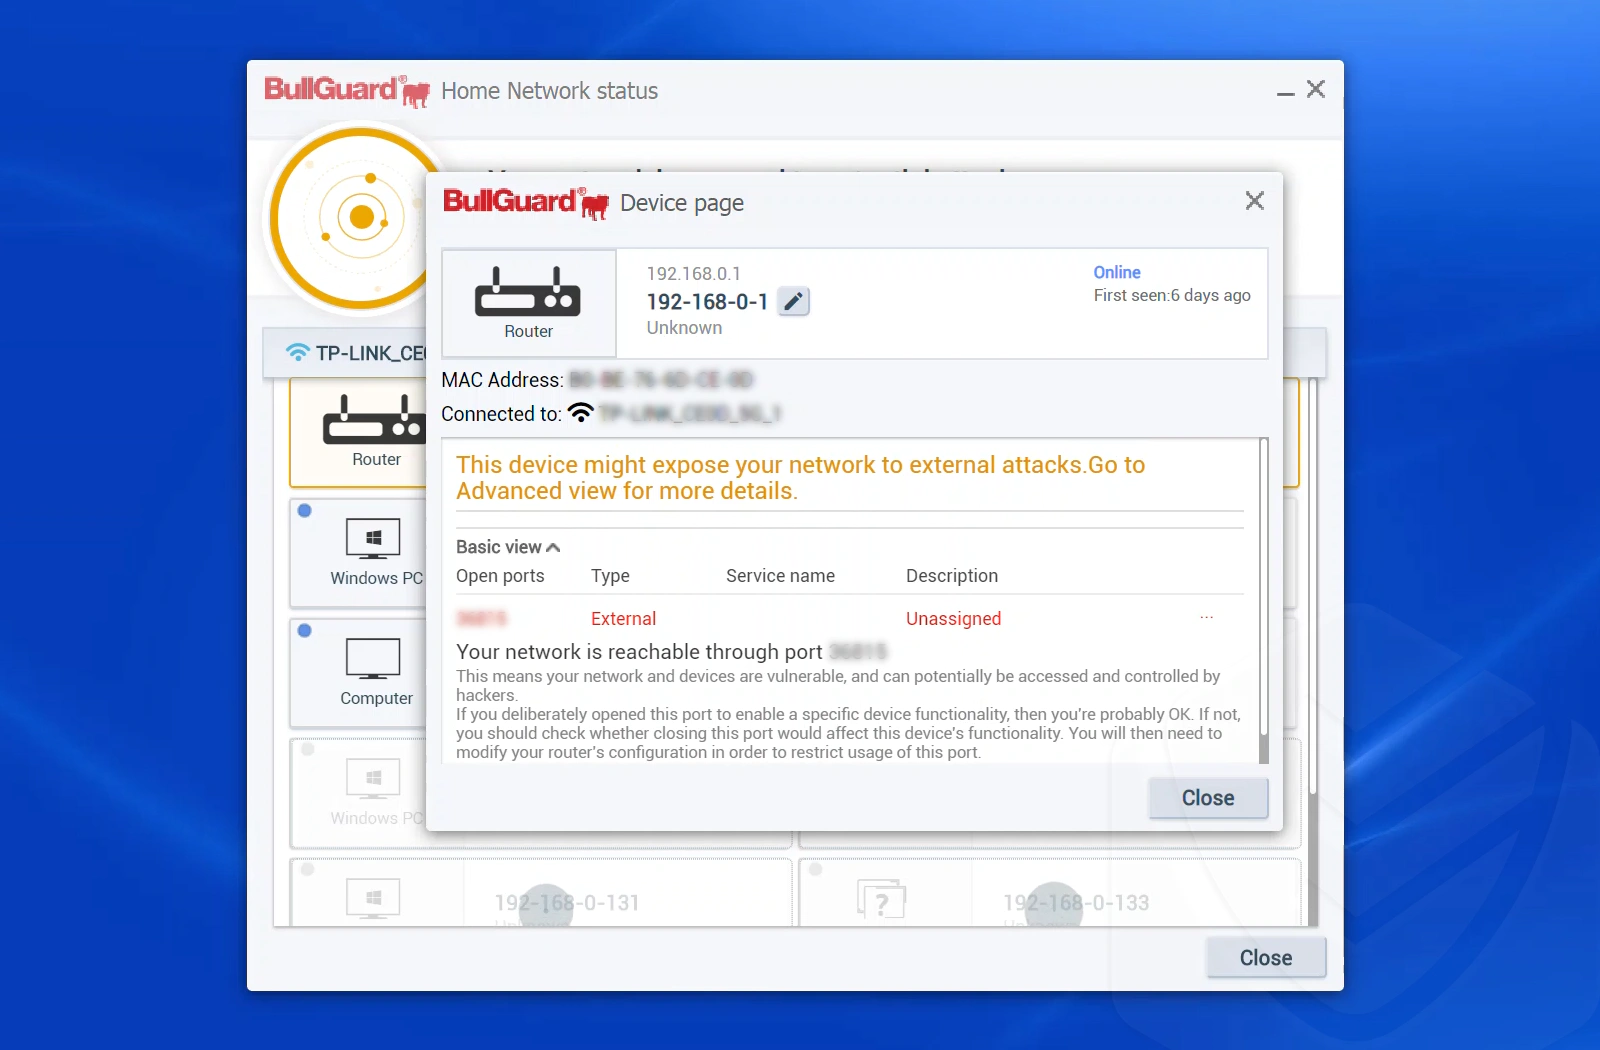
The module offers a view of all connected devices and assesses their security. During one of the scans I performed, the program told me that my router was vulnerable to attacks via ports. However, this was a false alarm. As their explanation suggests, it’s a deliberately opened port (to enable remote access via TeamViewer).
Messaging Center
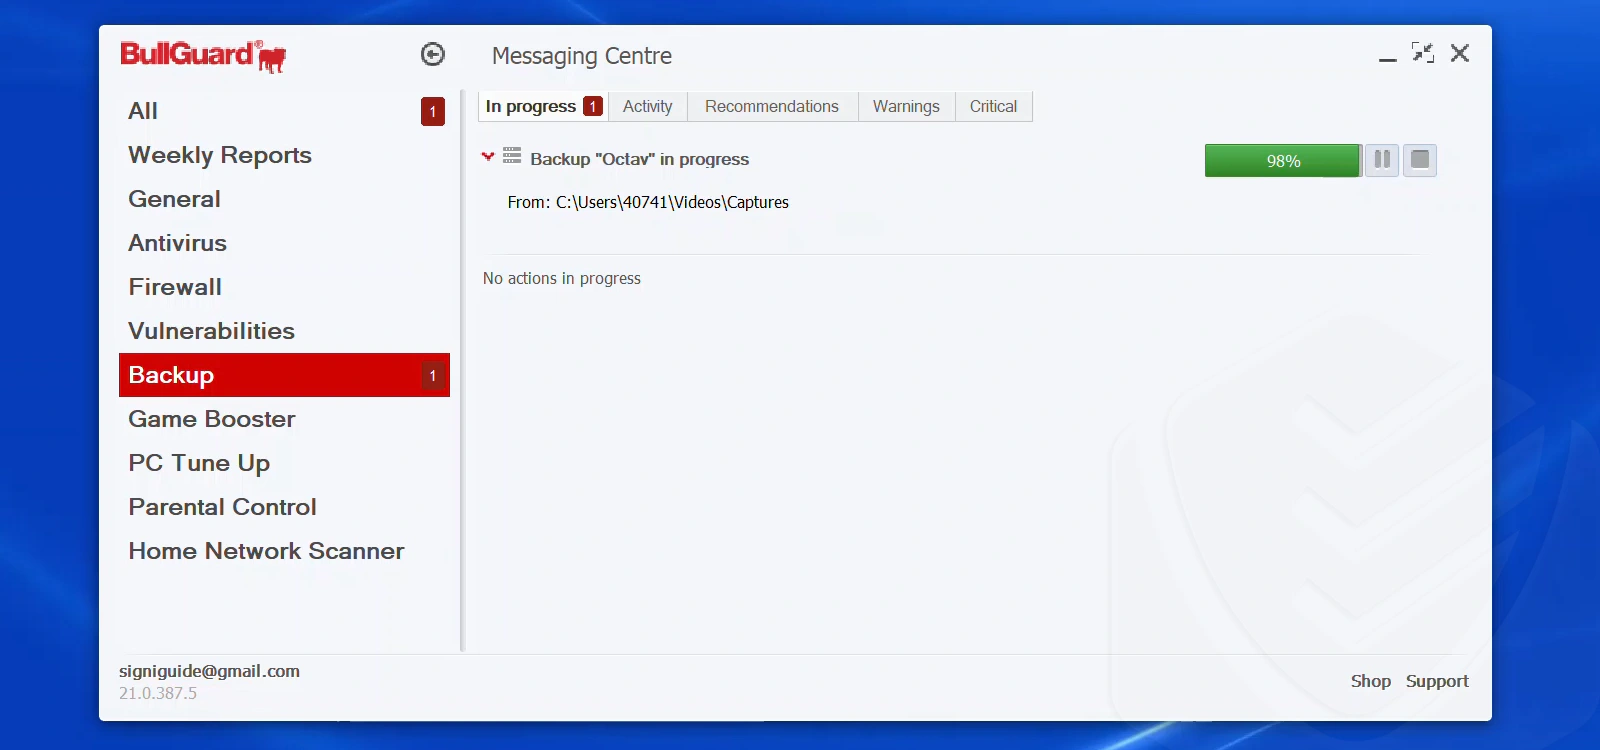
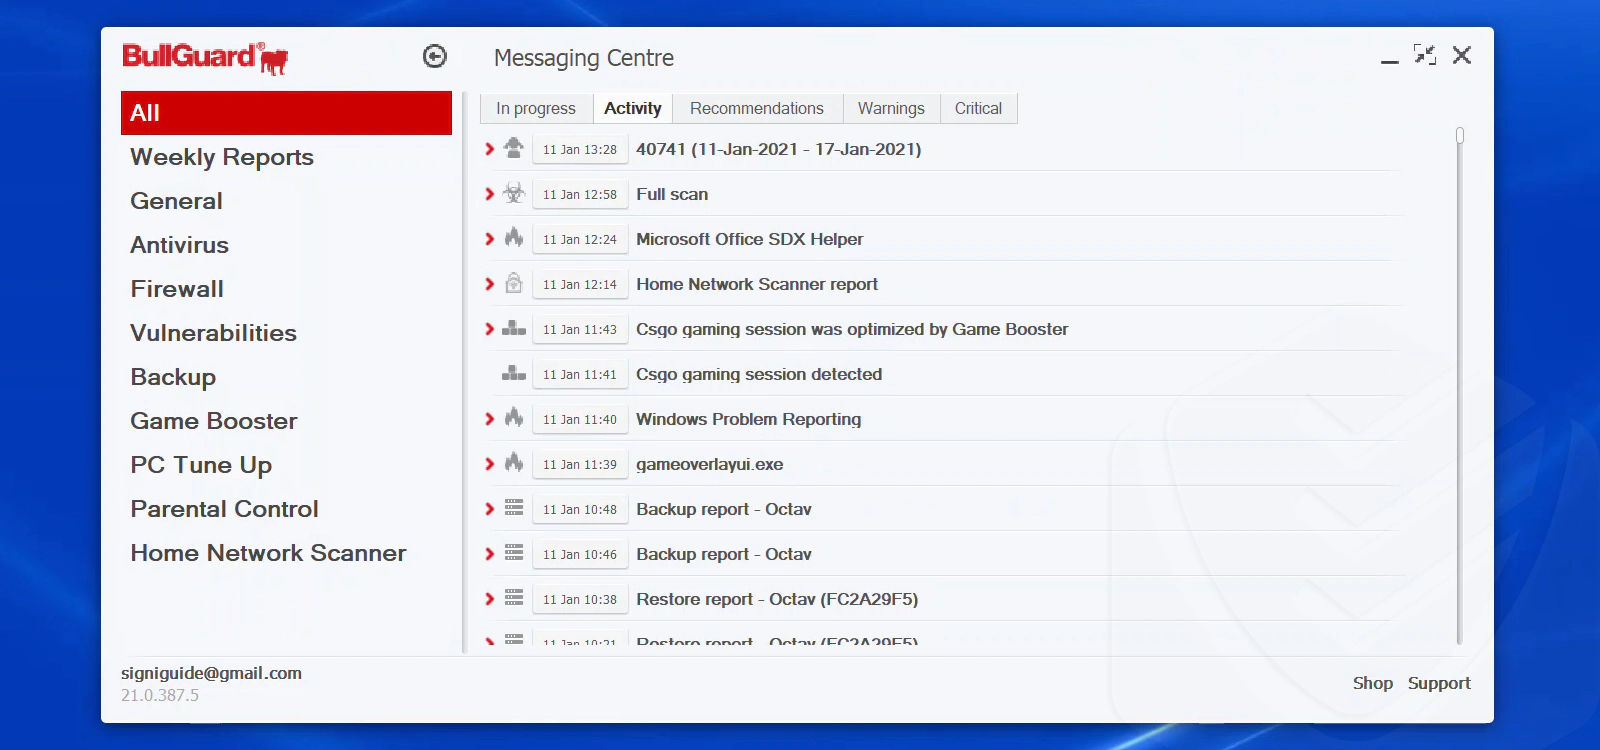
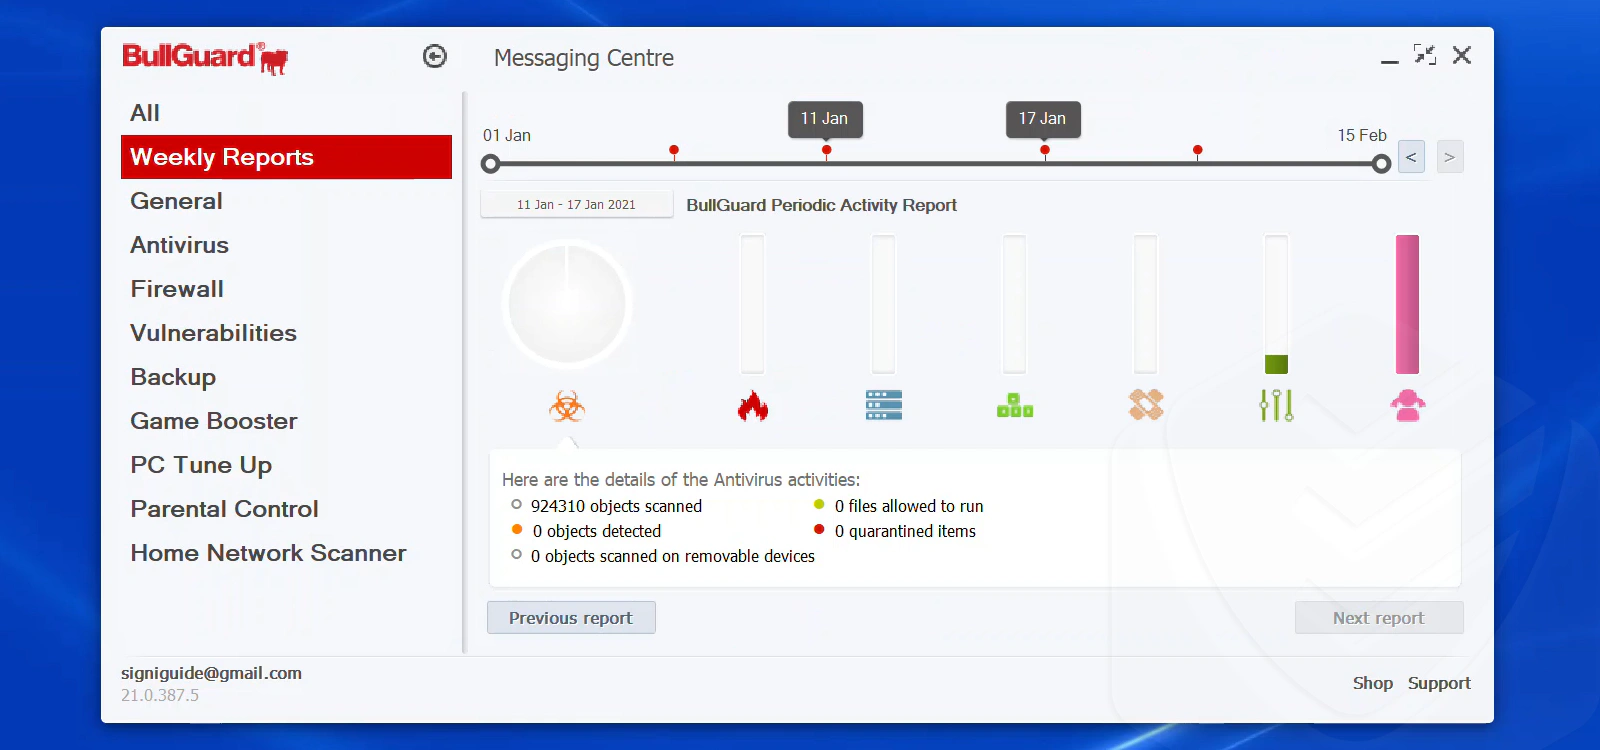
The messaging center is BullGuard’s central log. It enables you to view all antivirus activities, such as malware scans, network vulnerability scans, PC tuneups, backups, and more. The interface is neatly organized into categories:
It gets better:
The antivirus generates weekly reports regarding all activity. This includes graphical representations of activities. You can also view a summary of each activity by simply clicking on them.
System Performance
An important aspect to consider when choosing the right antivirus solution to meet your needs is its impact on system resources. Antivirus companies, like other software companies, continually refine and optimize their products. The question is, how many resources does BullGuard take up?
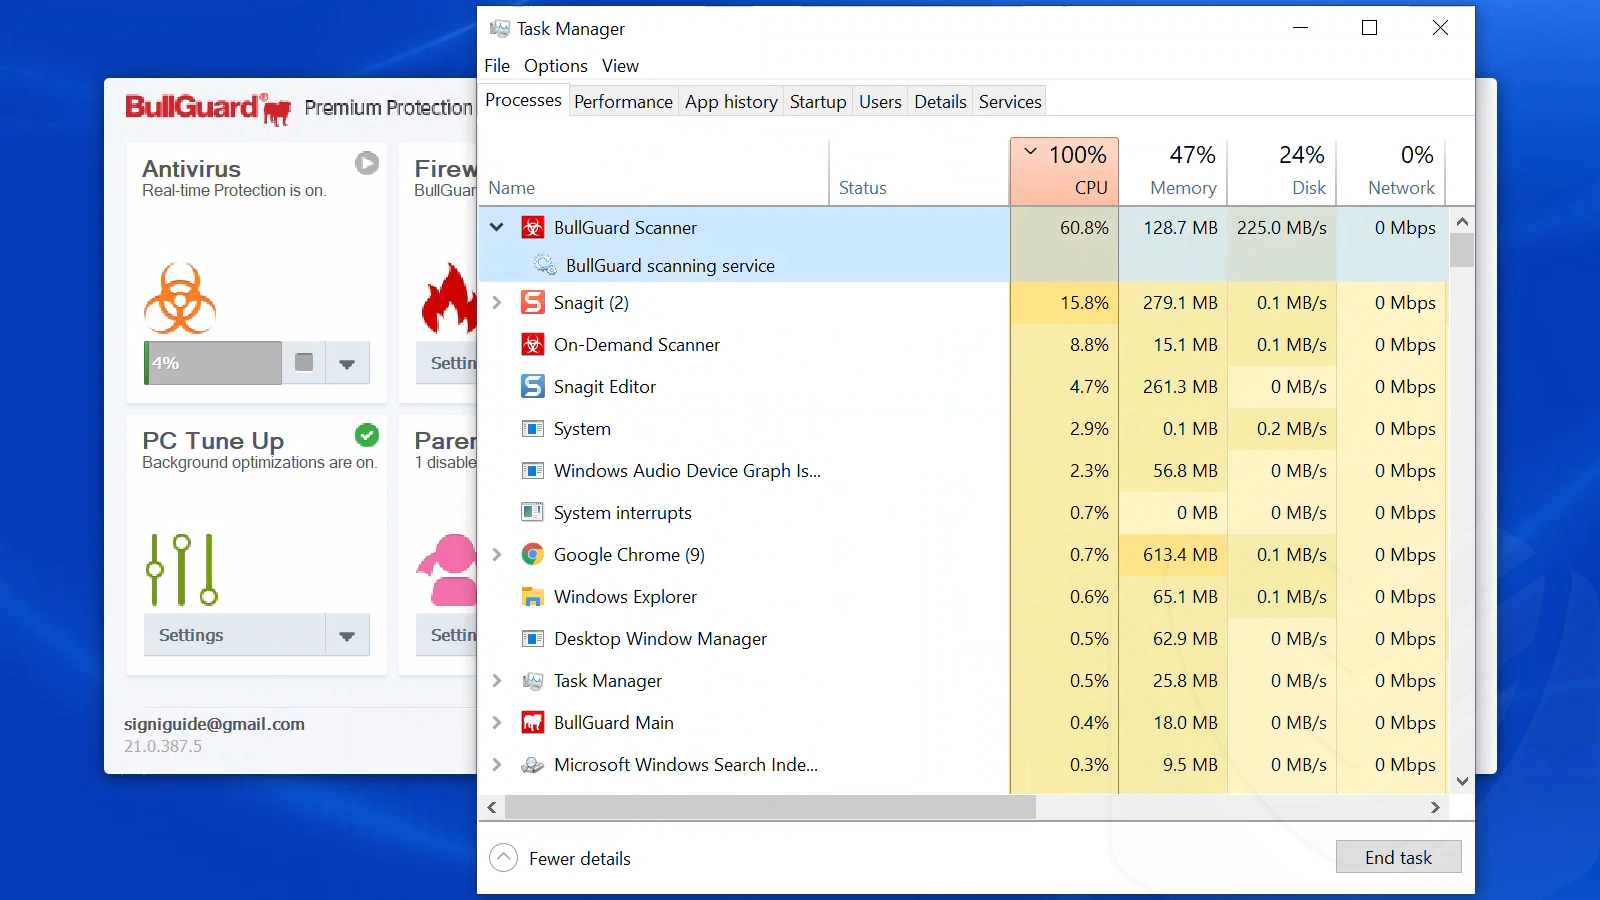
In standby mode, BullGuard consumes roughly 300 MB RAM and about 0.1 percent processing power. Of course, these numbers vary. Resource usage increases when an automatic task (such as backing up files) begins.
BullGuard takes up a lot of resources when performing malware scans — about 70% of CPU power and 350 MB of RAM. That’s well above average.
Process Monitor
Computer processes are executions of the instructions that make up a program. A single program may run multiple processes at once in the background.
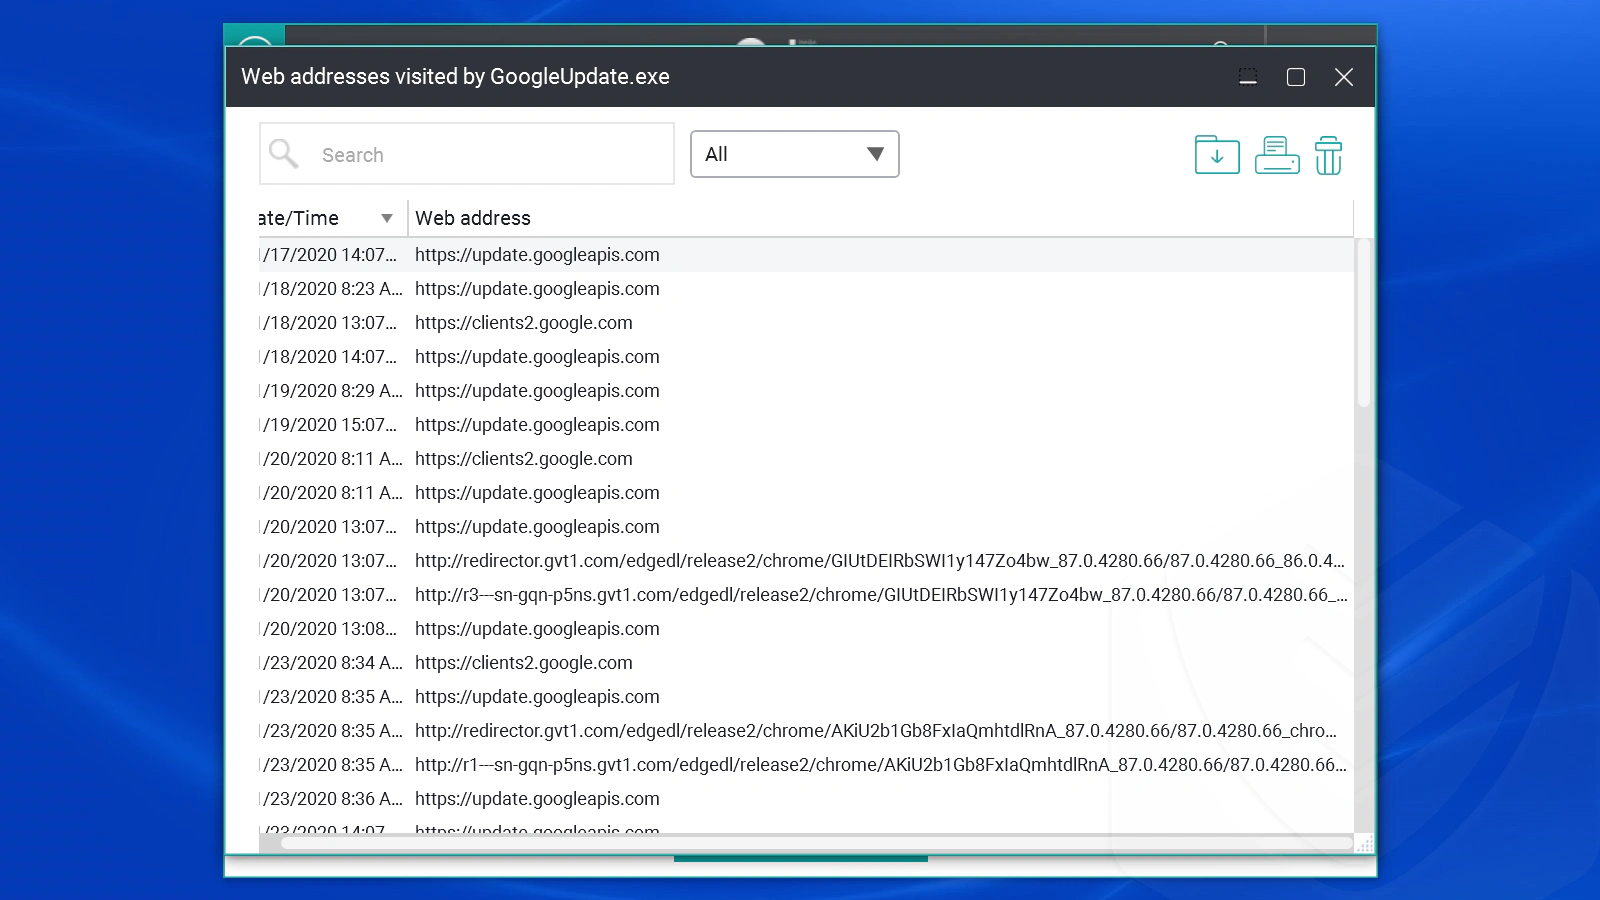
Panda’s process monitor doesn’t attempt to copy the Windows task manager (processes tab). Instead, it shows you which processes have been opened and rates them as secure or not.
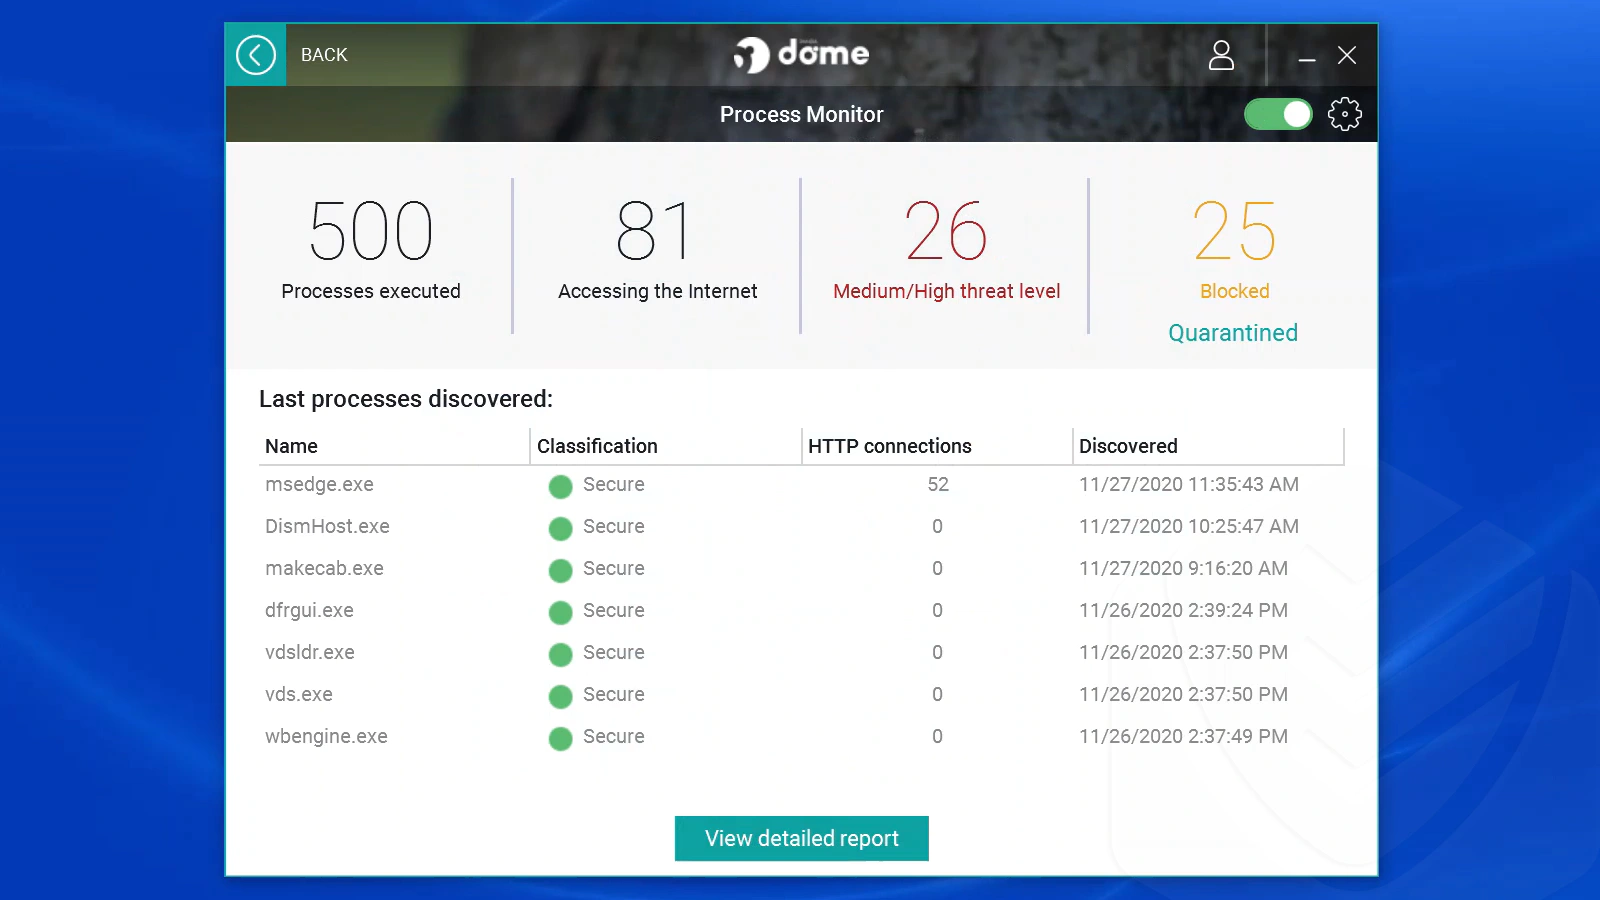
What you see in the link are the results of a ransomware simulation test that I ran. It included many programs with processes that Panda detected and blocked. The report below shows more details. You can also see which processes accessed web links.
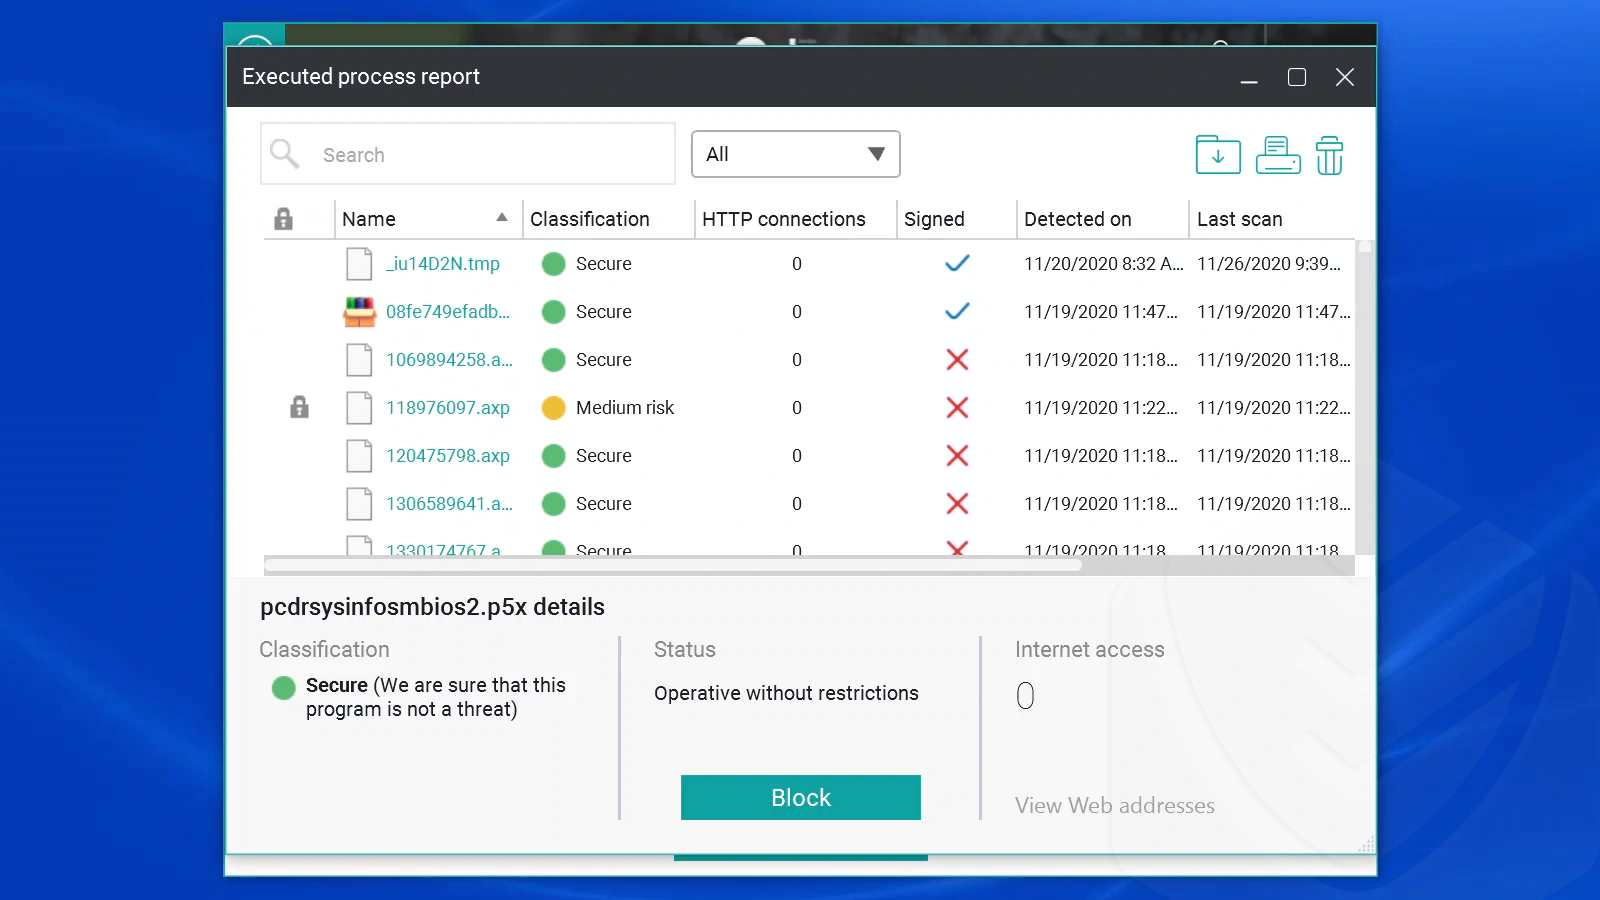
This helps you analyze the security of your computer’s processes as it provides you with a report regarding the web addresses they access.
Anti-theft
Anti-theft is a feature for locating lost or stolen devices. You can go to Panda’s My Devices page and select your device from a list. But remember: your device must have the Location feature enabled for this to work.
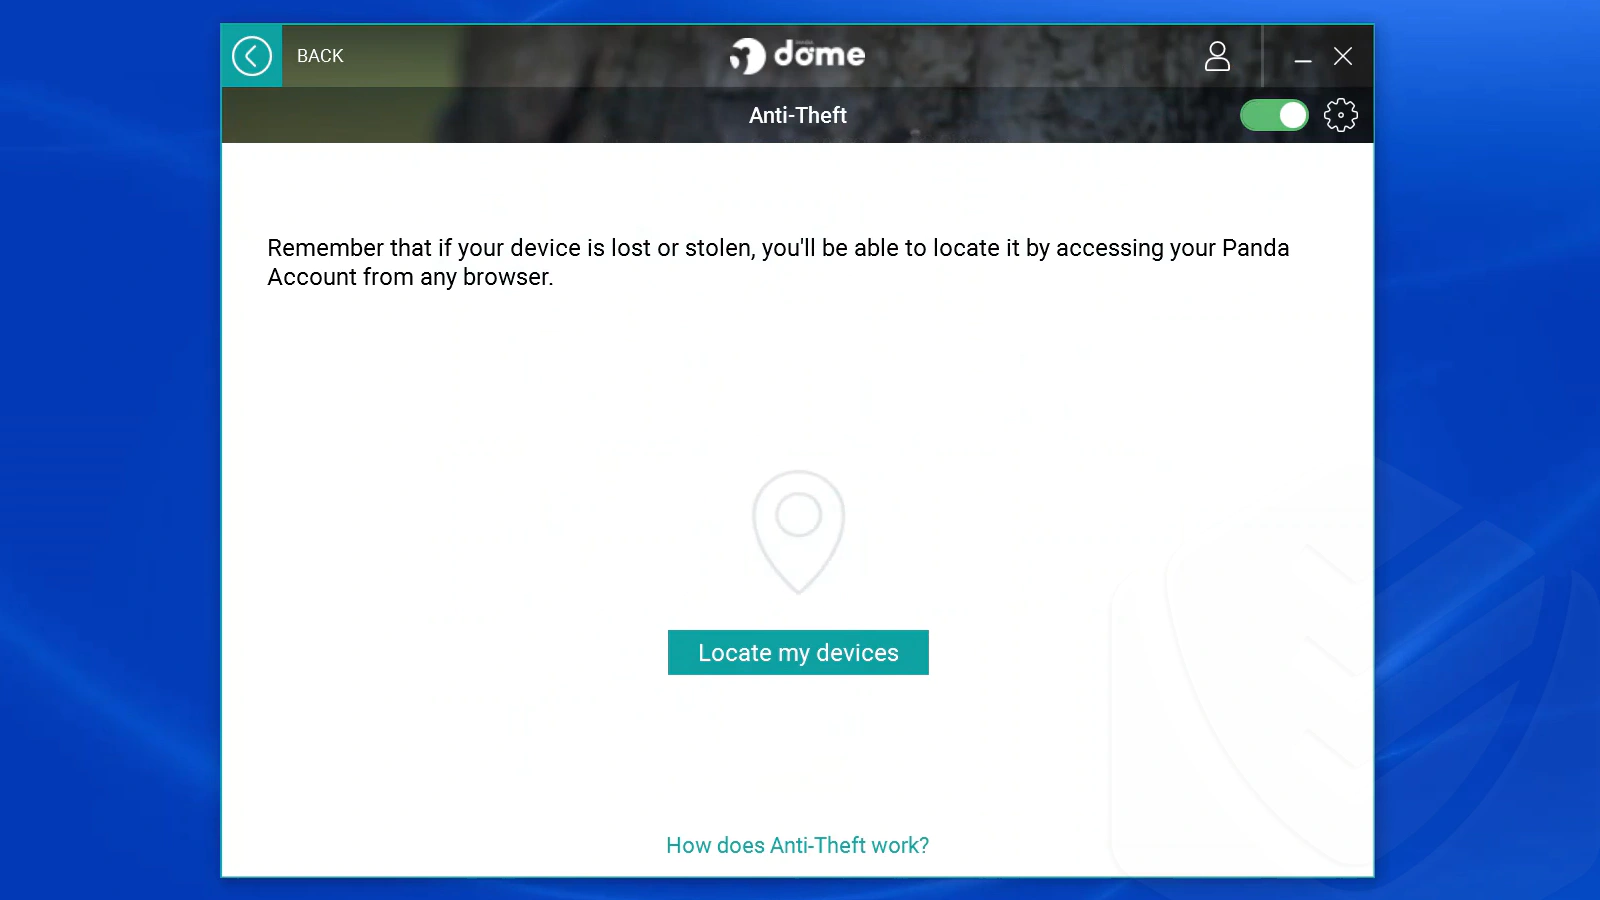
To test this feature, I installed Panda on my laptop and smartphone and enabled the Location feature on both devices. Then, I went to the Devices page from my PC and tried to locate them.
The result?
Panda eventually found my devices, but it took quite a while — several minutes for each device. Also, on the first try, the page said the Location feature was switched off, which wasn’t right.
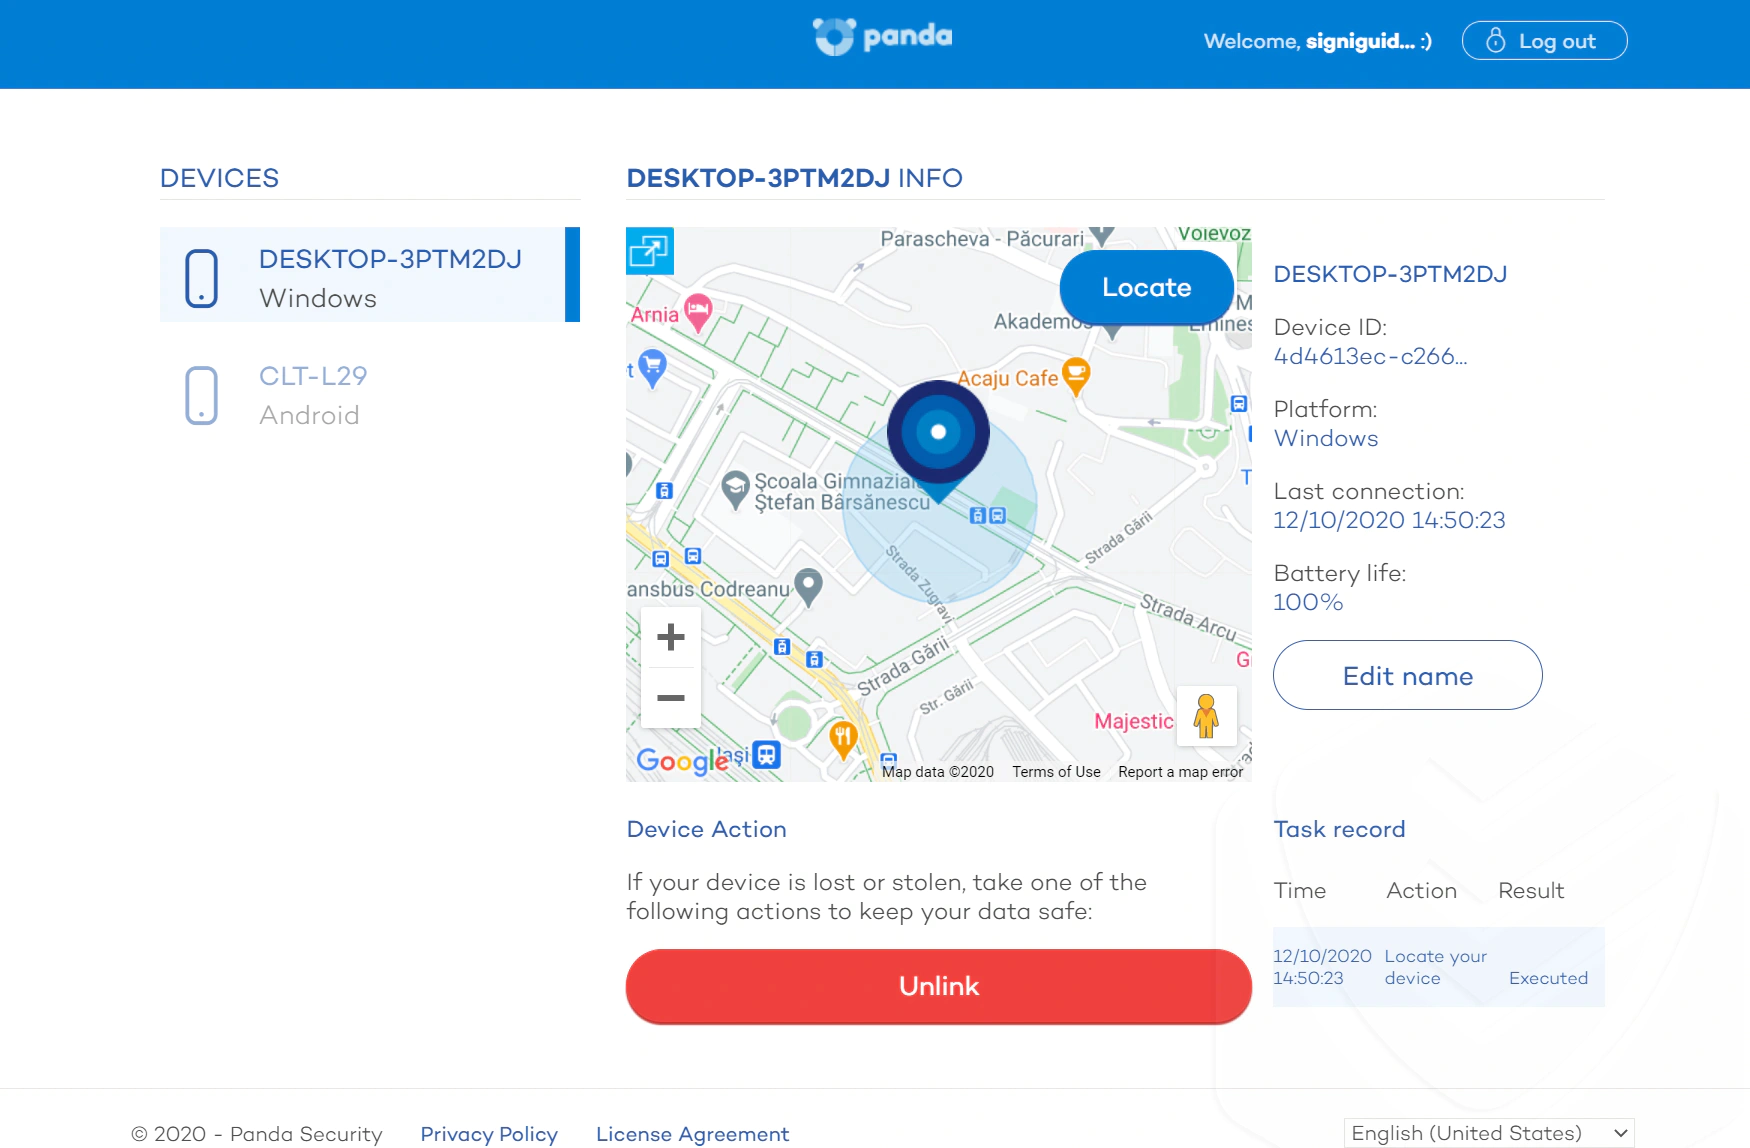
The phone options on the detection page are different. You can take a photo, lock your phone, wipe it, or unlink it. I tested the “Take Photo” feature. It worked, but it took a while for the photo to arrive in my inbox (more than 10 minutes).
File Shredder & File Encryptor
The File Shredder and File Encryptor (and the Virtual Keyboard) are part of Password Depot, a separate app that you can install from Panda’s interface.
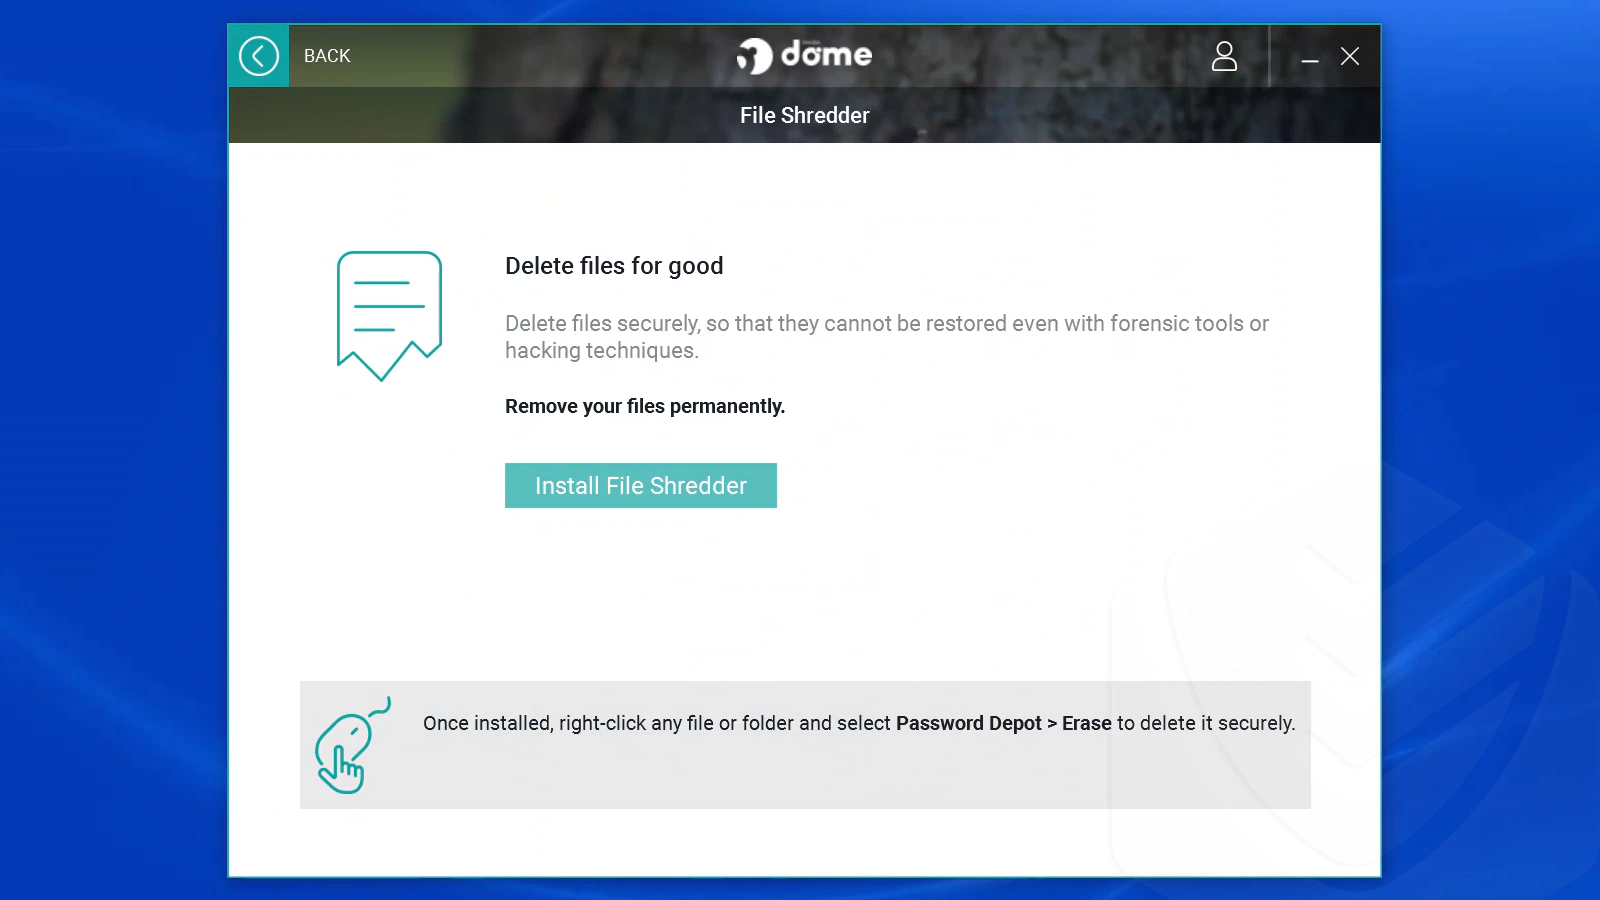
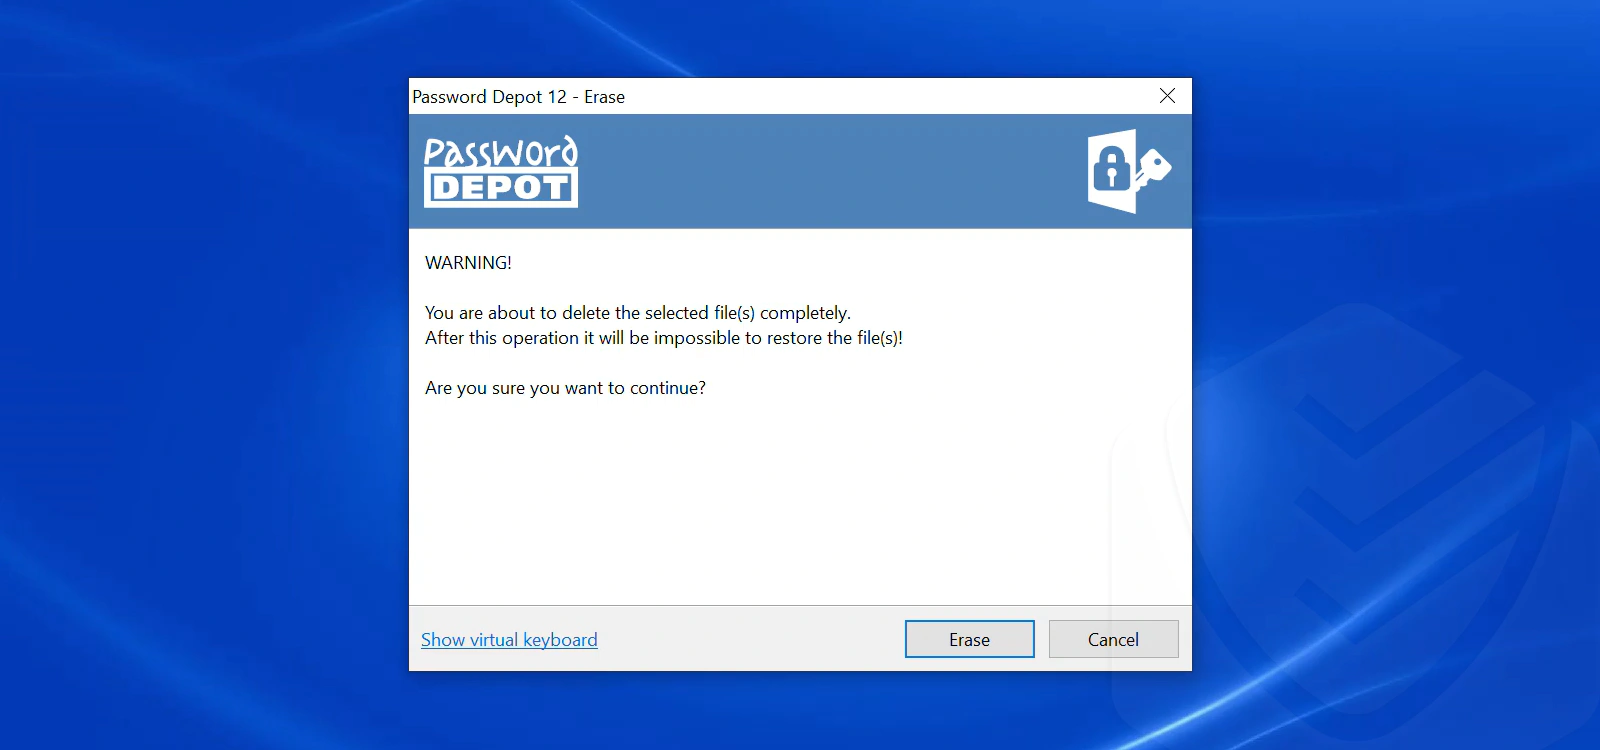
You can access this feature by right-clicking on an individual file. From the drop-down menu, simply select the action you wish to take and a new window will appear.
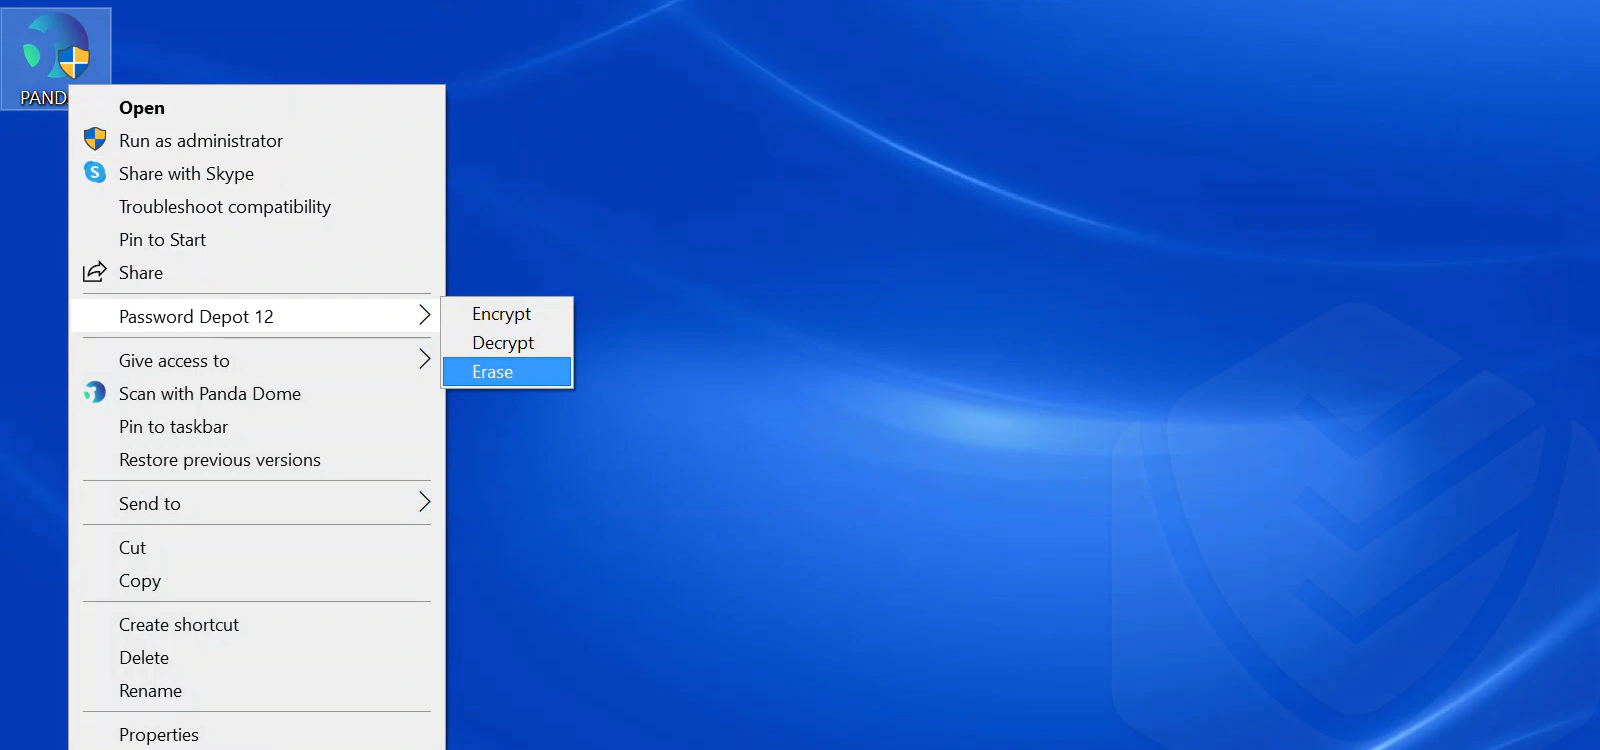
Before testing the File Shredder, I first made sure the file I was deleting was not essential. Panda claims that no tool can recover files erased with this feature. That’s what sets it apart from deleting files permanently via the Recycle Bin
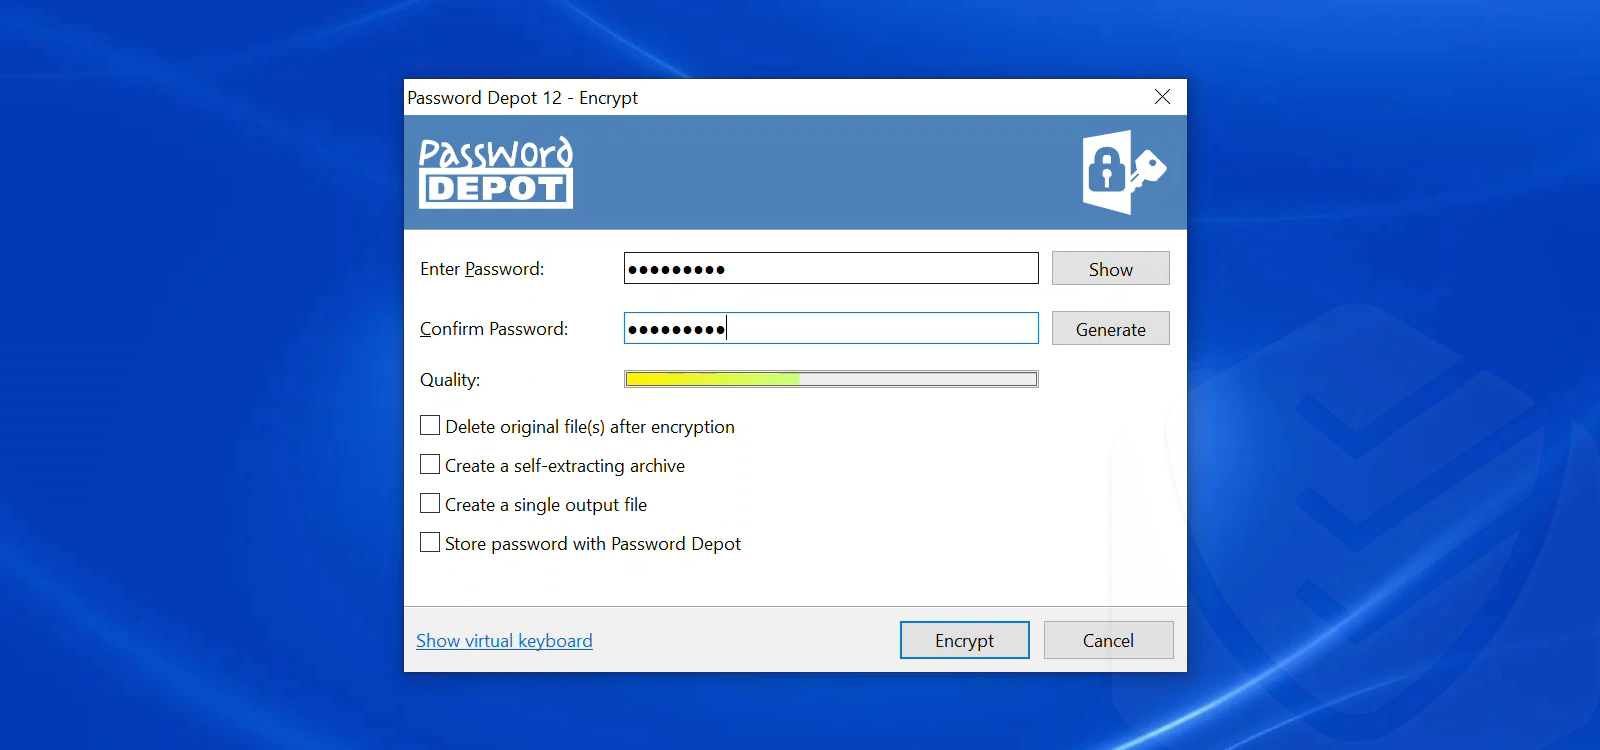
The file encryptor is different from Windows’ native encryption option (from Properties). It allowed me to generate a file password and included other handy options, like the ability to open the virtual keyboard.
Password Manager
The password manager is a browser extension (Chrome in my case) that stores your passwords. It can automatically fill in login information when you visit a site. Here’s what I can tell you after testing it out.
Once I installed Panda’s password manager, I was able to sign in using my Panda account. Whenever I logged into a site, the extension asked me if I wanted to save my password. I added two essential accounts:

The next time I logged into these accounts, the extension included an option to auto-fill my information. It worked! The extension has a wealth of options available. You can create different identities, generate passwords, take notes, manage credit card information, and more.
Yet, I’m a bit concerned about the frequency of the updates that are available. In fact, most of Panda’s features seem a bit out of date.
System Performance Impact
I tested Panda to check how much of an impact it has on my system’s resources. Here’s what I found.
During a full scan, Panda used about 25% processing power and 150 MB RAM. This is relatively normal in terms of antivirus scans. Also, when in standby mode, it consumes 0.1% processing power and 50-100 MB RAM.
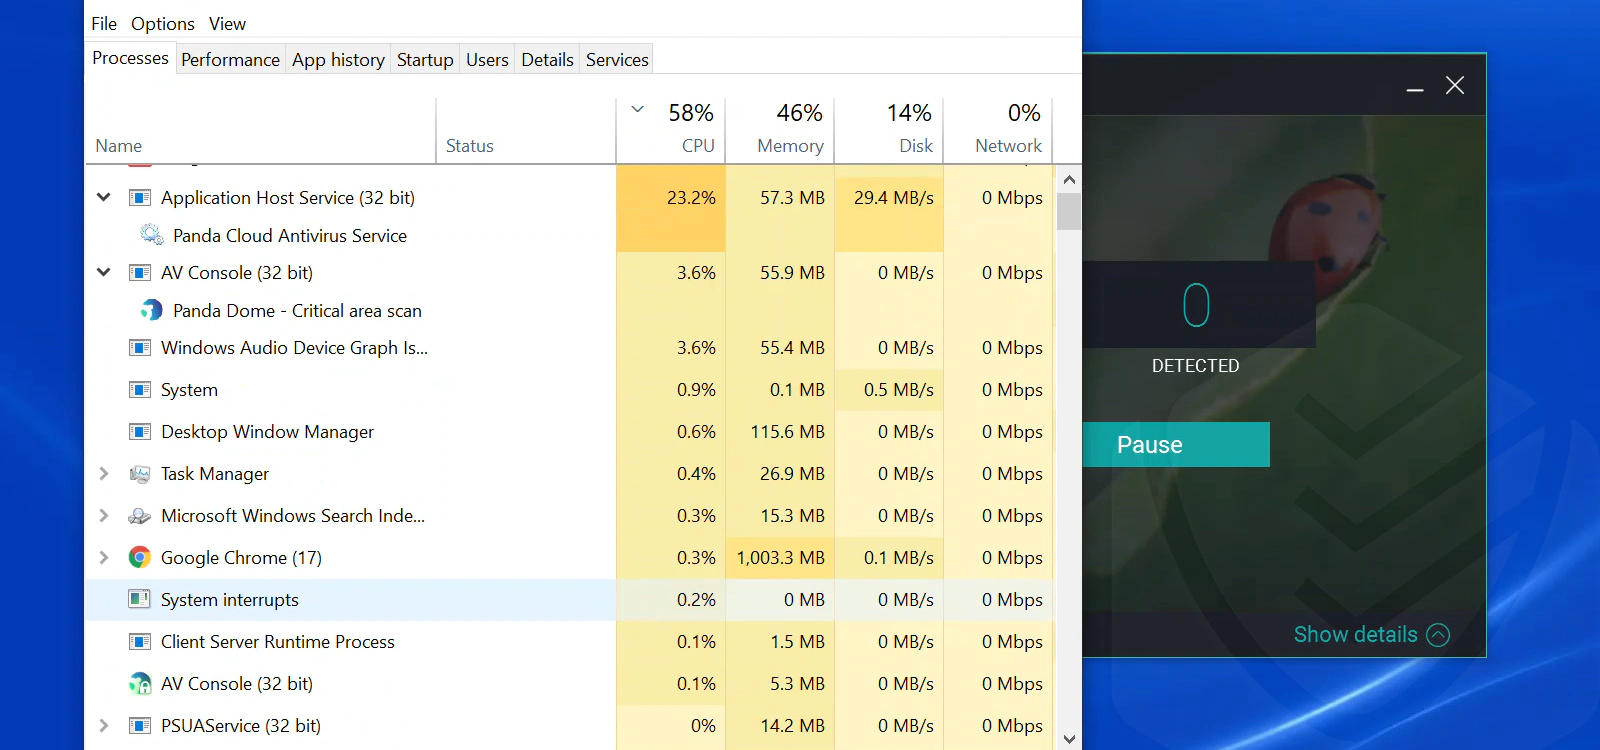
AV-Comparatives, which I mentioned earlier, also tested Panda’s performance. They gave it the highest rating (Advanced+) in terms of efficient use of system resources.
